By now you know that Stay Focused is part the arnielee website.
We’re here because we love taking pictures.
You’ll find articles based on our 50+ years of experience in photography. We’re happy to share our know-how with you so in hopes that you’ll discover new ways to enjoy your picture taking even more.
We recently opened our Gallery Store for those interested in browsing our collection of fine art photographs.
My wife often thinks of me as a nerd and she’s correct for the most part.
I tend to take a windows seat when flying. While others are napping during the flight I’m viewing the scenery below.
Every once in a while I’ll spot a familiar pattern on the ground so I’ll pull my small camera from my pocket and take a picture. The pattern below is an airport with the straight line runway(s). I’ve repeated this action many times over the years that I’ve flown.
Of course it isn’t always easy to determine the name of the airport in the photograph. But I’ve pieced together a way to help me identify the airport.
If you too are a little “nerdy” and know a little about longitude and latitude, please follow along as I explain the technique that I use.
For illustration I’ll use a recent flight from Denver to my home base in Grand Rapids, Michigan.
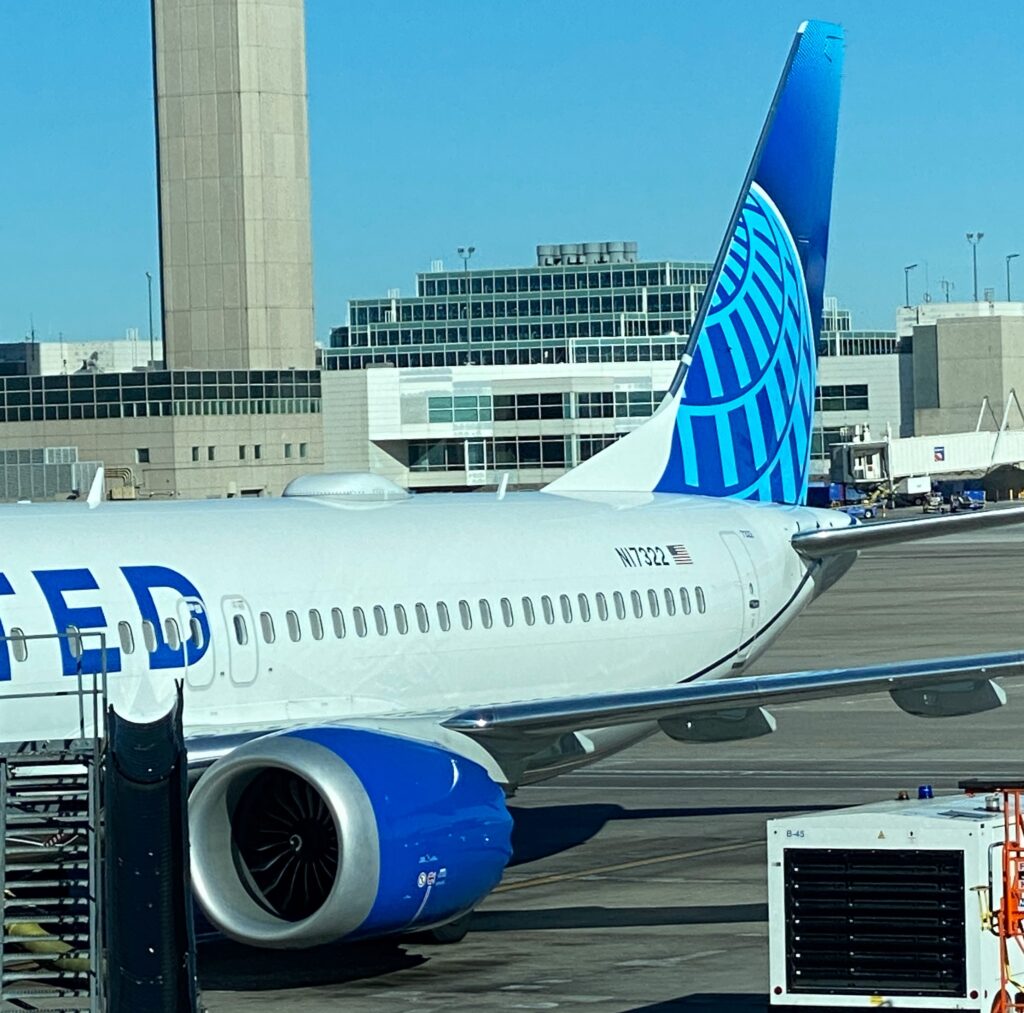
I was flying on this Boeing 737 Max on February 6, 2024 on United Airlines flight 2637 (DEN-GRR).
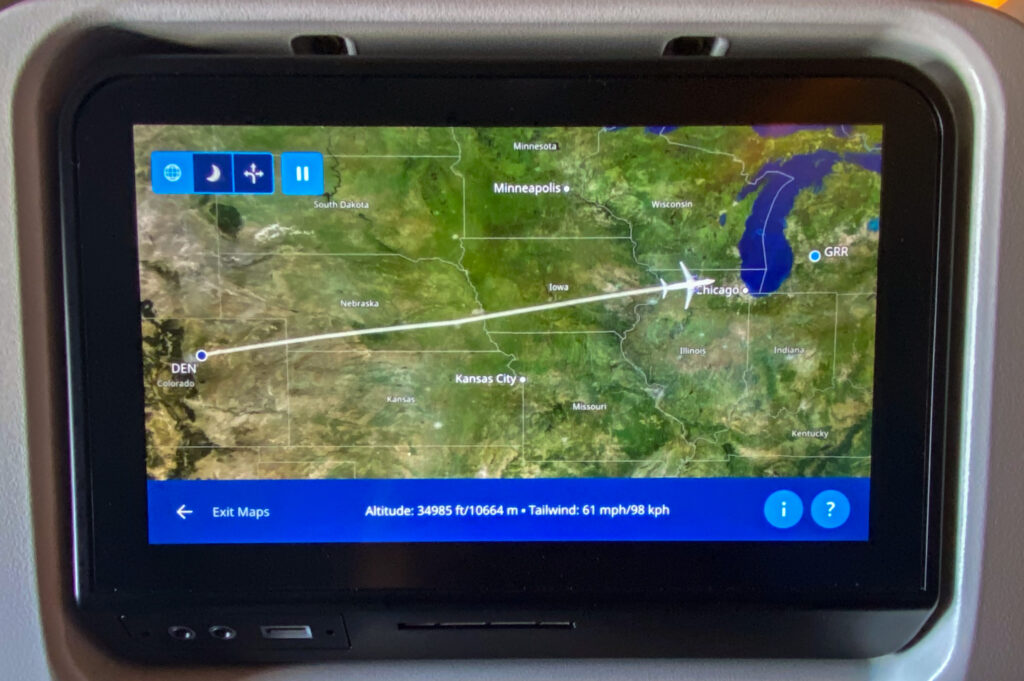
Onboard the aircraft, the seat back display shows the progress of our flight from Denver.
While this is one way to approximate your location when you snap a photo, it isn’t precise enough.
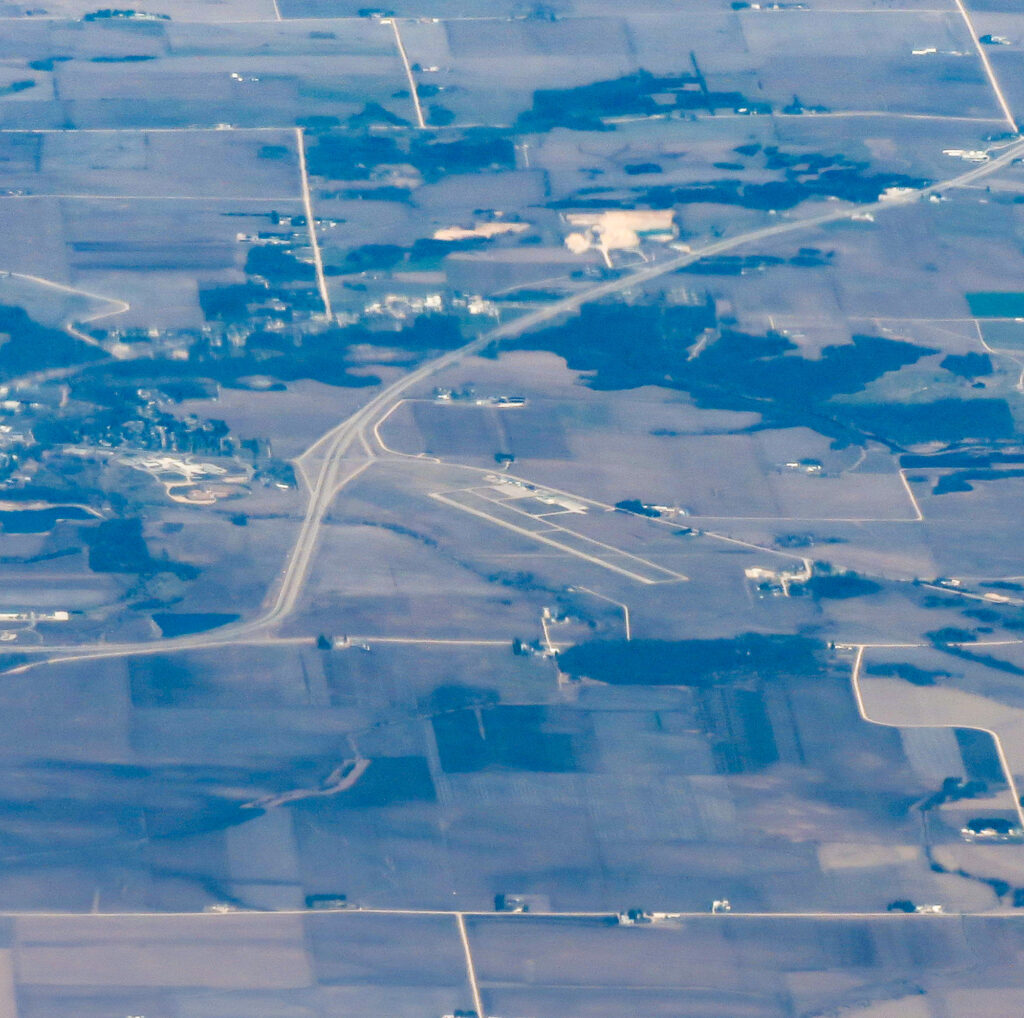
This is the unretouched photograph that I took from my window seat as we were flying at 35,000 ft – or about 7 miles above the ground. You can see the single runway just to the north of the bend in the road.
I’m sitting on the left side of the aircraft looking to the north. Keeping the aircraft’s altitude in mind the airport is quite distant from the plane’s flight path, perhaps by 15 miles or more.
The other steps that I used to identify the airport were made after I returned home. The first task was to edit the photograph to make it clearer.
Using my editing software I cropped the important part of the photo and was able to make the runway and surroundings much clearer.
I also checked the timestamp of the original photograph and found that it was taken on March 6, 2024 at about 1:23 PM.
My next step was to go to the website flightaware.com. This website has a multitude of aircraft information including the statistics of our UAL 2637 flight. As you’ll see, we will first find our flight for February 6th and then examine the details.
At the flightaware.com menu we searched for the UAL 2637 flight and chose the one from Wednesday February 6.
Choosing this flight and clicking takes us to the screen below.
After we verify that this is the desired flight we scroll down
Here the entire path of the completed flight from Denver to Grand Rapids (DEN-GRR) is displayed.
At the bottom of this display I clicked on View Track Log button.
Flightaware records the aircraft’s position every 30 seconds in the Track Log. We scroll through the Track Log to the approximate time that matches the photo’s timestamp we can see that the aircraft was at 41.8177 latitude and -91.1543 latitude at about 1:23pm.
The next step is to use Google Maps to find the aircraft’s location on the map for this latitude and longitude.
Google determines that at that time the aircraft was flying over the area just to the north of Tipton, Iowa.
The website vfrchart.com has the aircraft charts for the United States (and more). In the upper left corner of the site I have typed tipton, ia and chosen Sectionals from the drop down selections to display a portion of the sectional chart. Tipton is in the center with other airports in the vicinity of Tipton. An airport is surrounded by a dark rust color circle.
The hard work is to determine which of the airports is the one in the photo. Knowing that the aircraft is flying mostly eastward and the photo is north of our track (looking out of the left window of the aircraft), the possible airports are north of Tipton. In our case the one airport directly north of Tipton is the Monticello airport.
To make sure, I used Google Maps to display the Monticello Airport.
Here’s the map of the area where you can see the airport layout and the bend in the adjacent road.
So we’ve positively identified the Monticello Regional Airport KMXO.
So these are the steps that I use to identify airports that I photograph from the air.
Again I’ll say that this is a nerdy exercise, but taking photos out of the aircraft’s window is preferable to napping.
By the way, I have a collection of airports that I’ve taken from above. You can see these airports at my other website here https://arnielee.com/wordpress/?p=6049.
Whenever I fly, I always try to get a window seat. It doesn’t matter if it’s a daytime flight or a nightime flight. I enjoy looking down at the scenery below and trying to determine the plane’s location as we travel.
I enjoy all things aviation and take photographs while I travel.
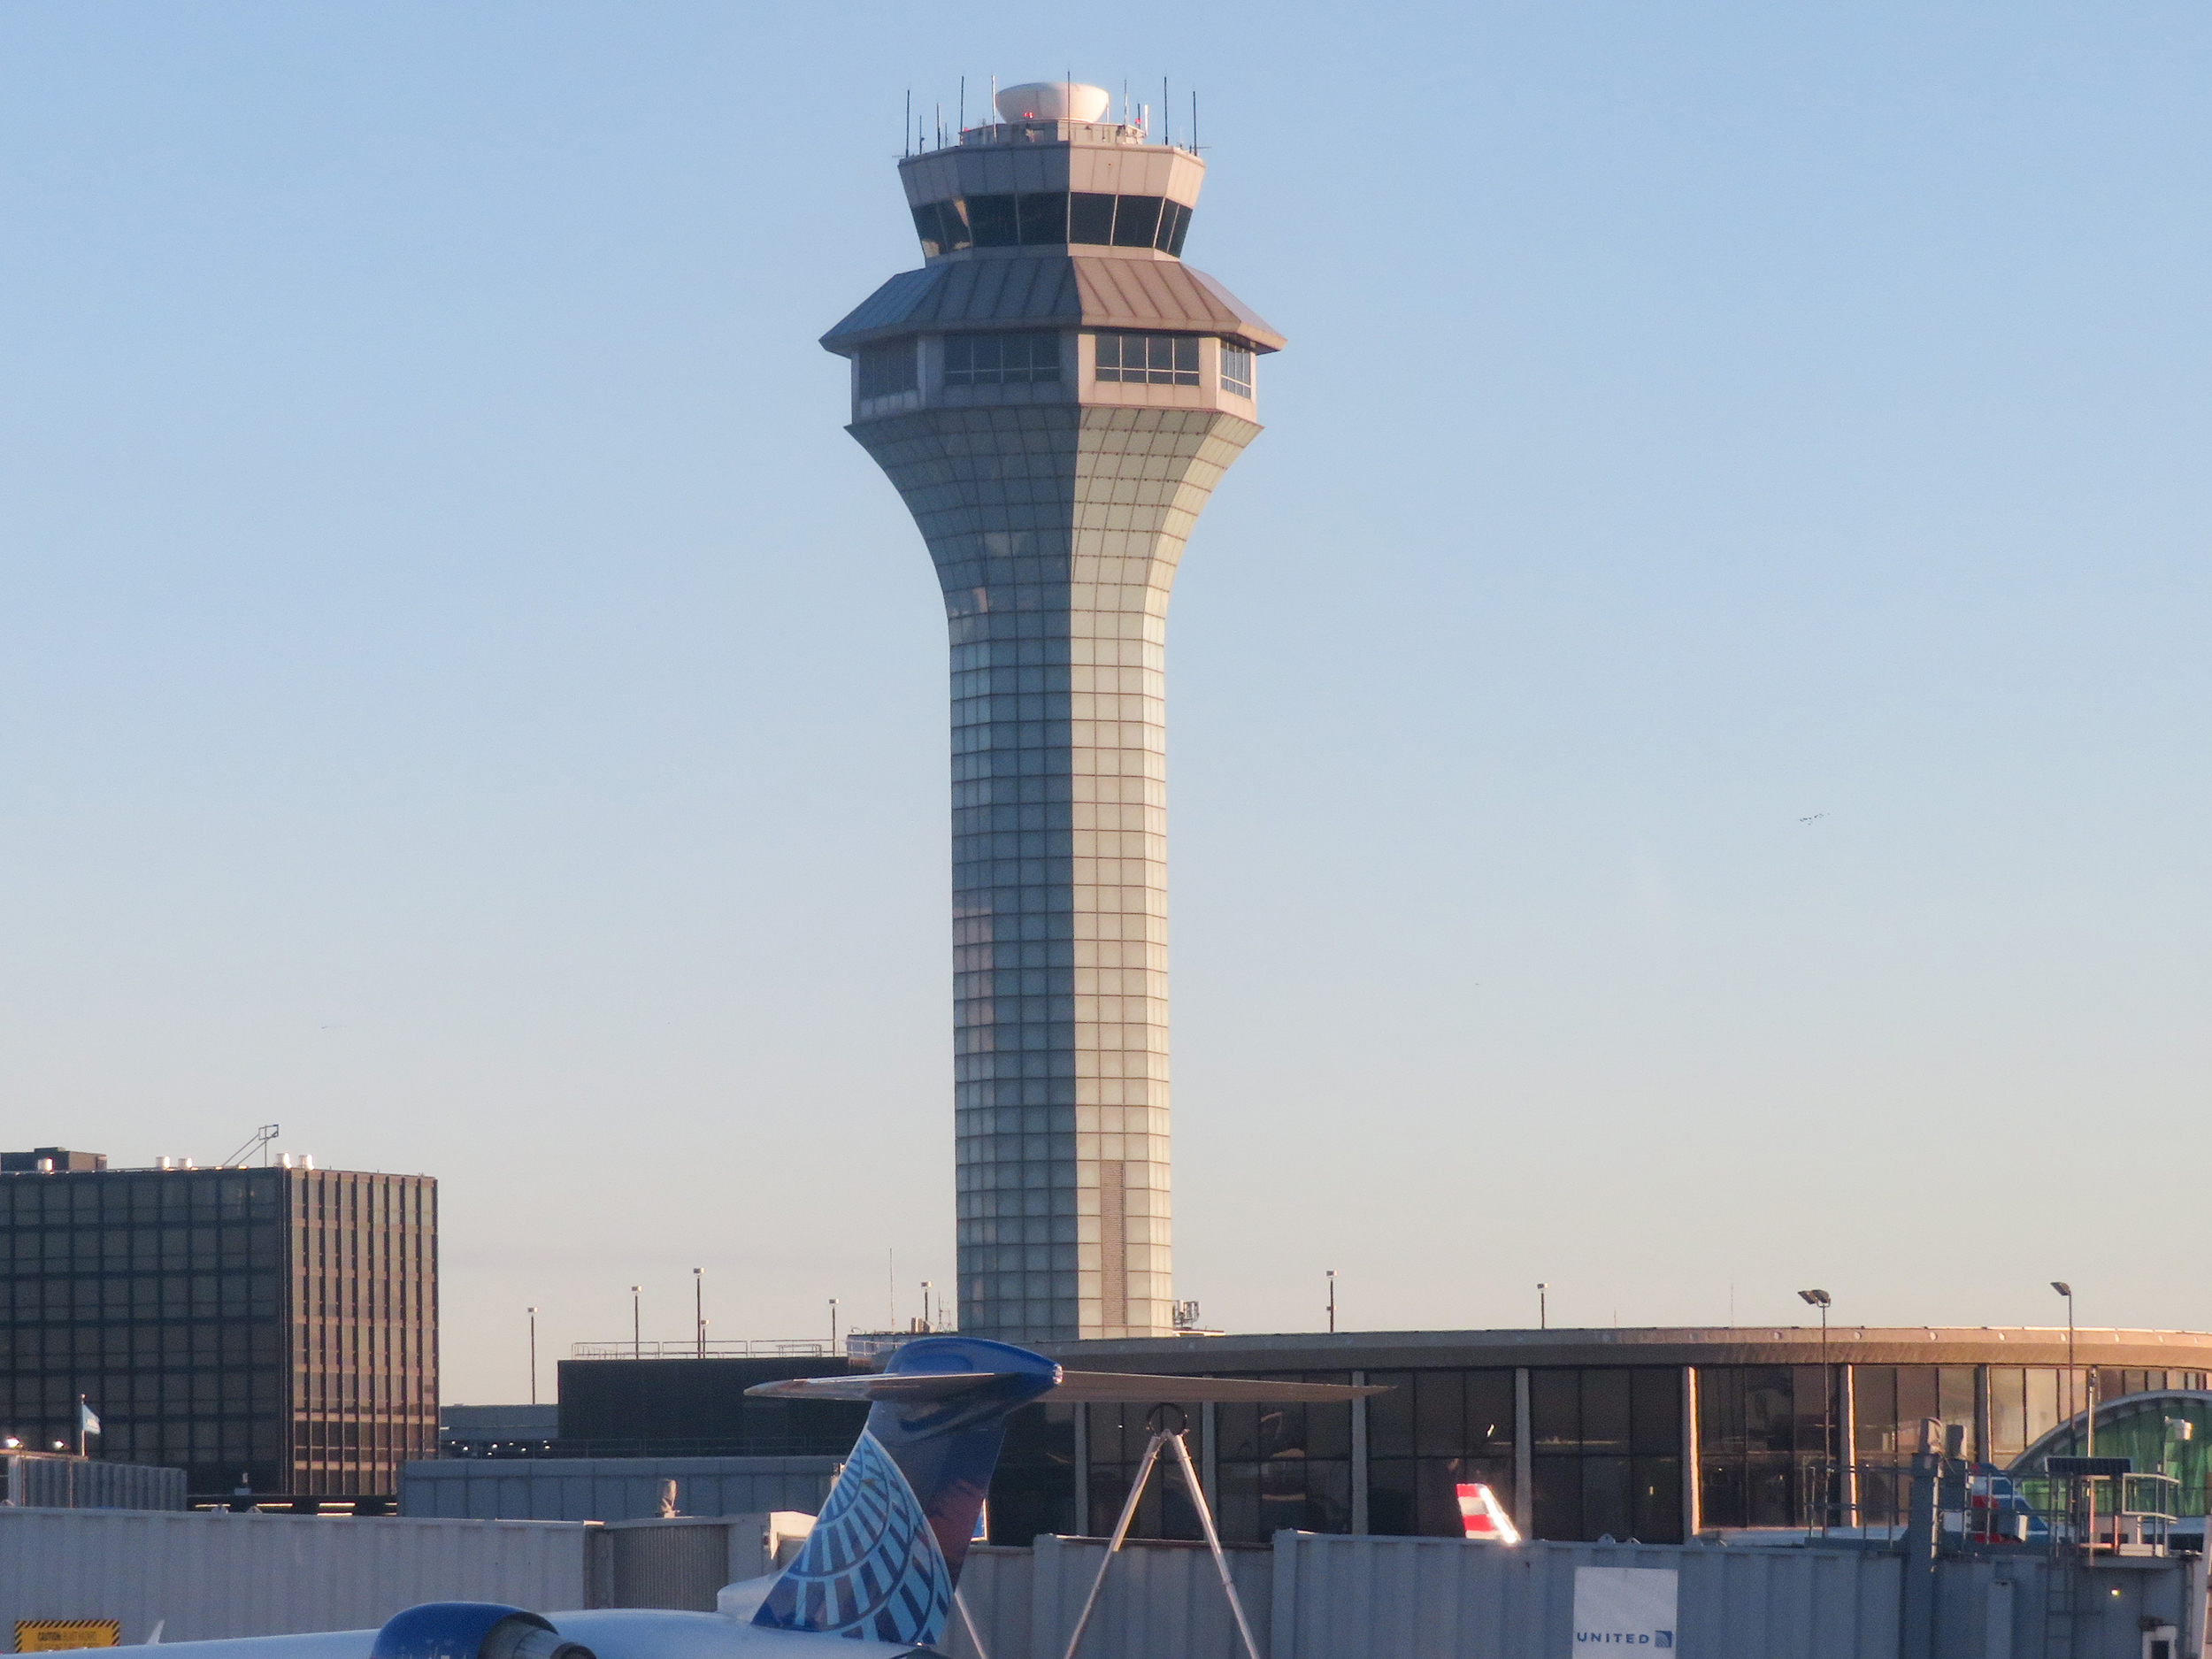
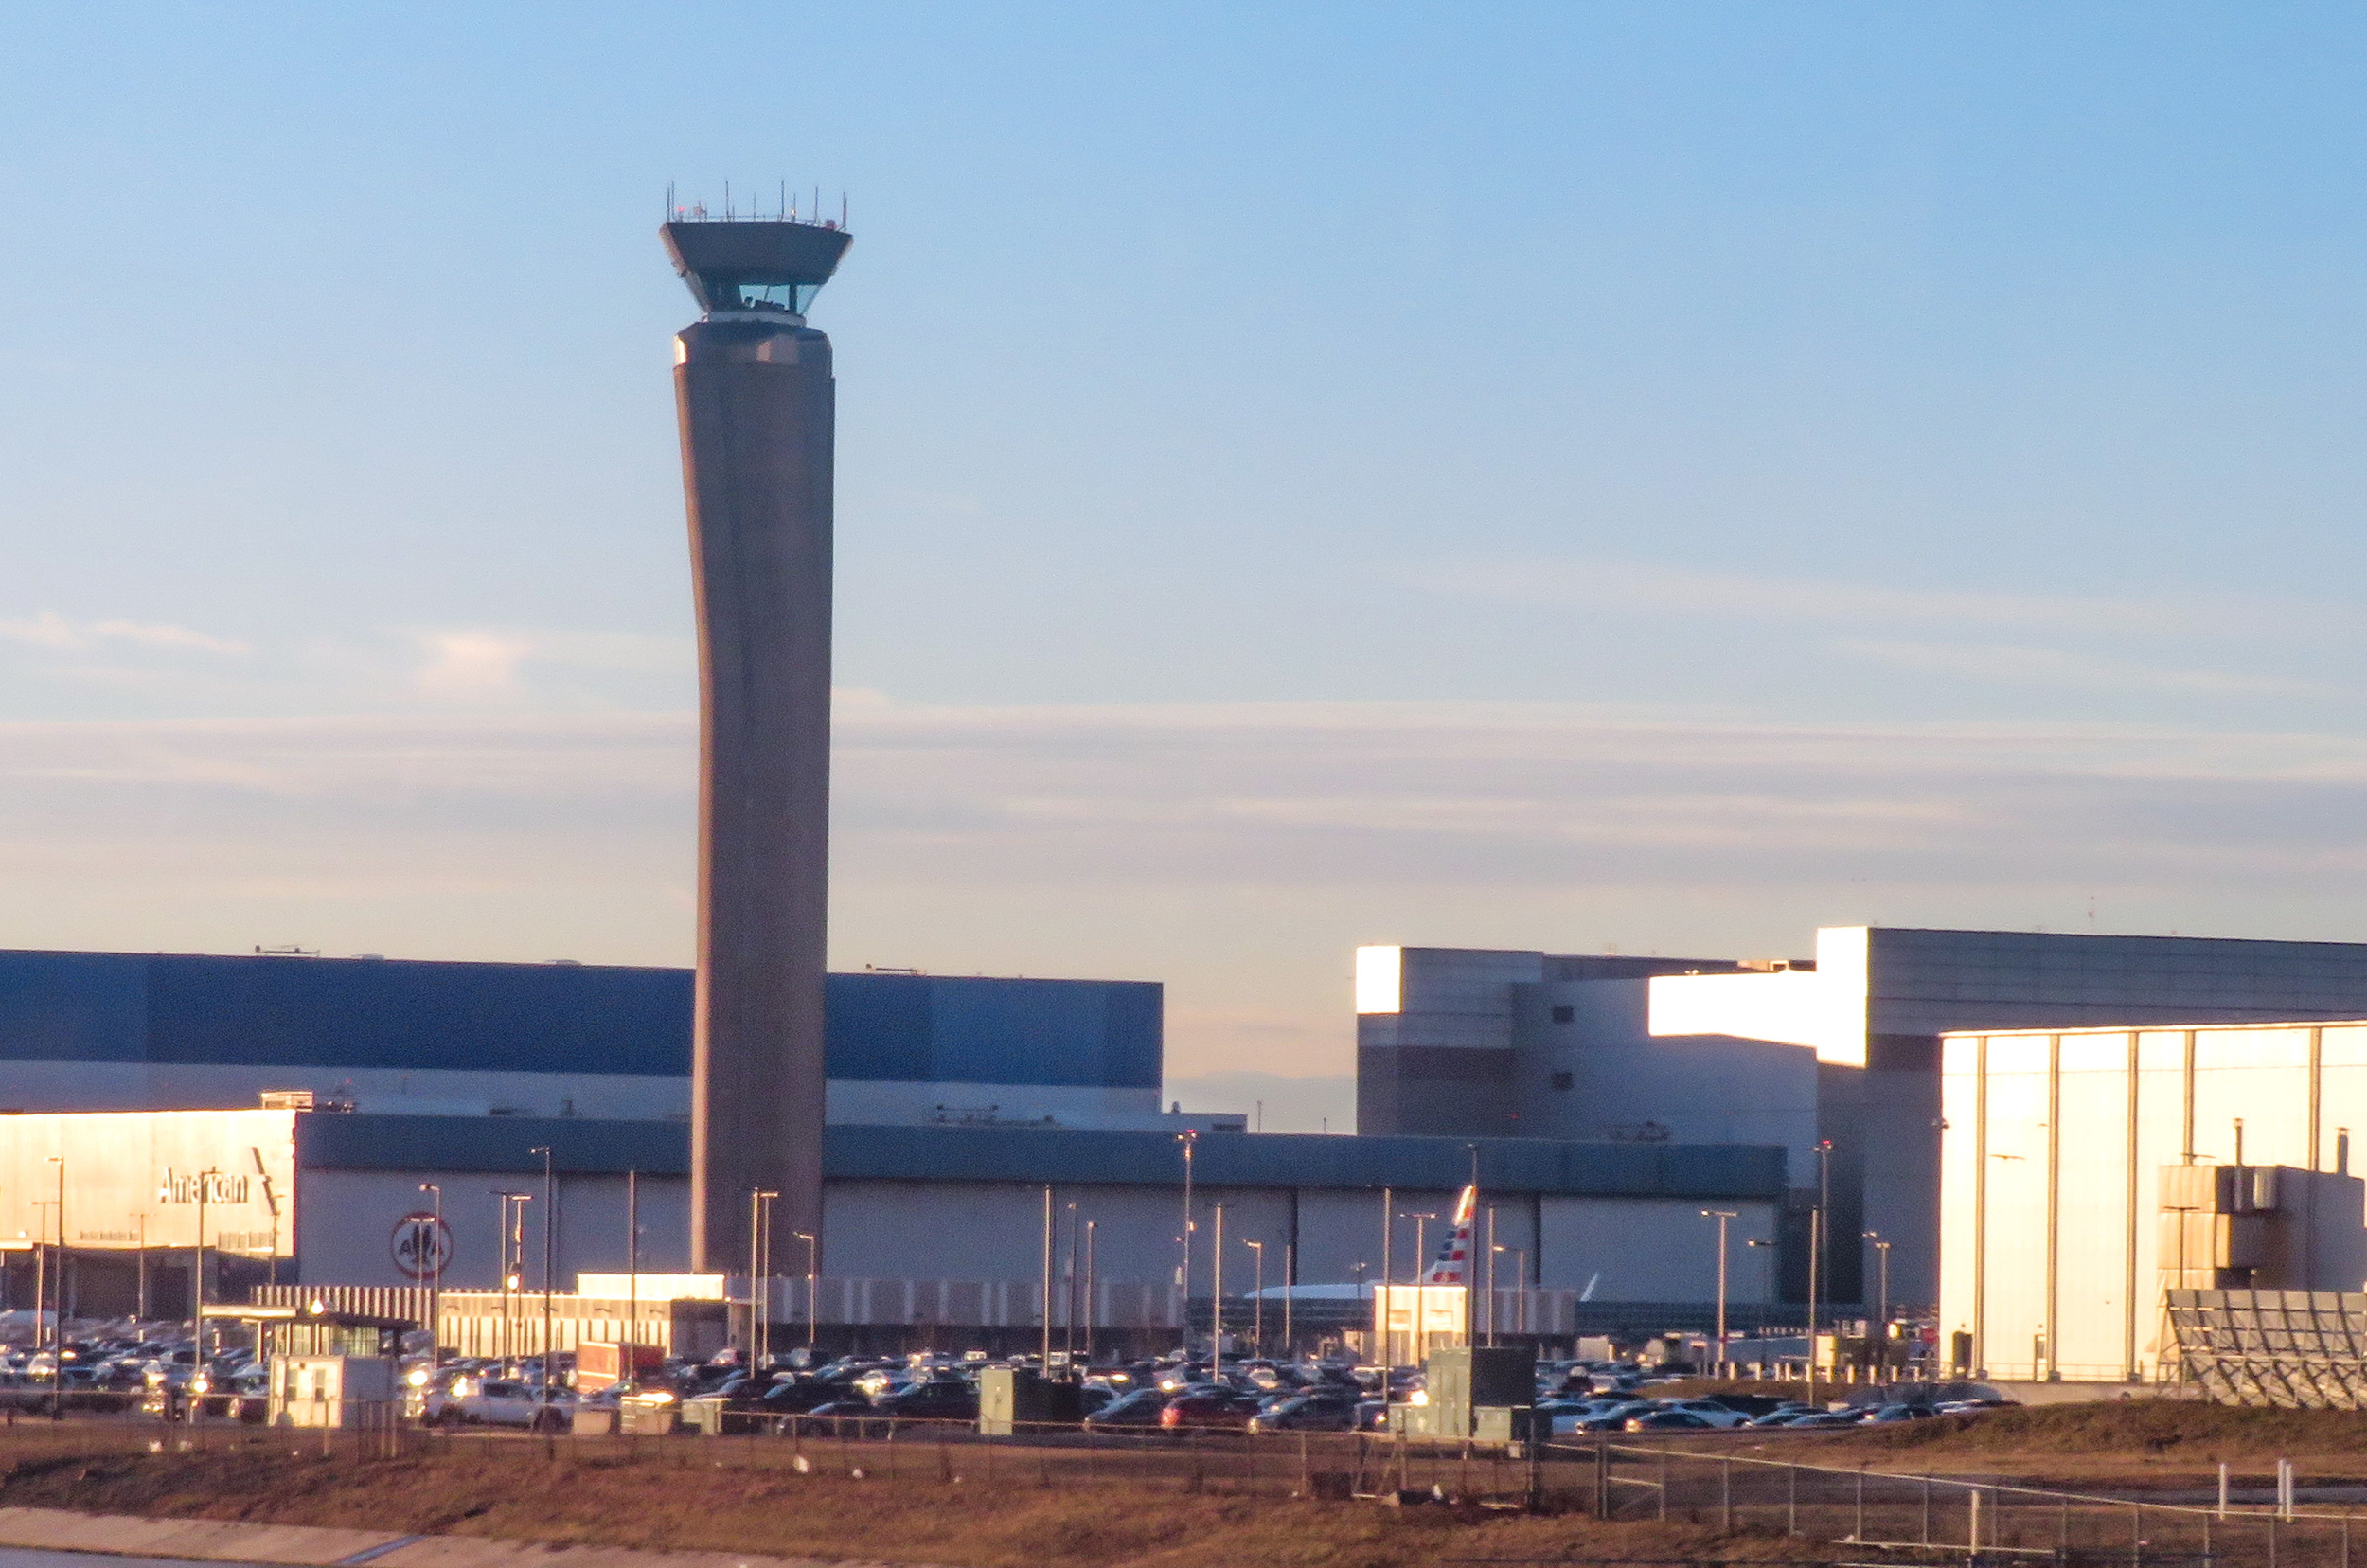
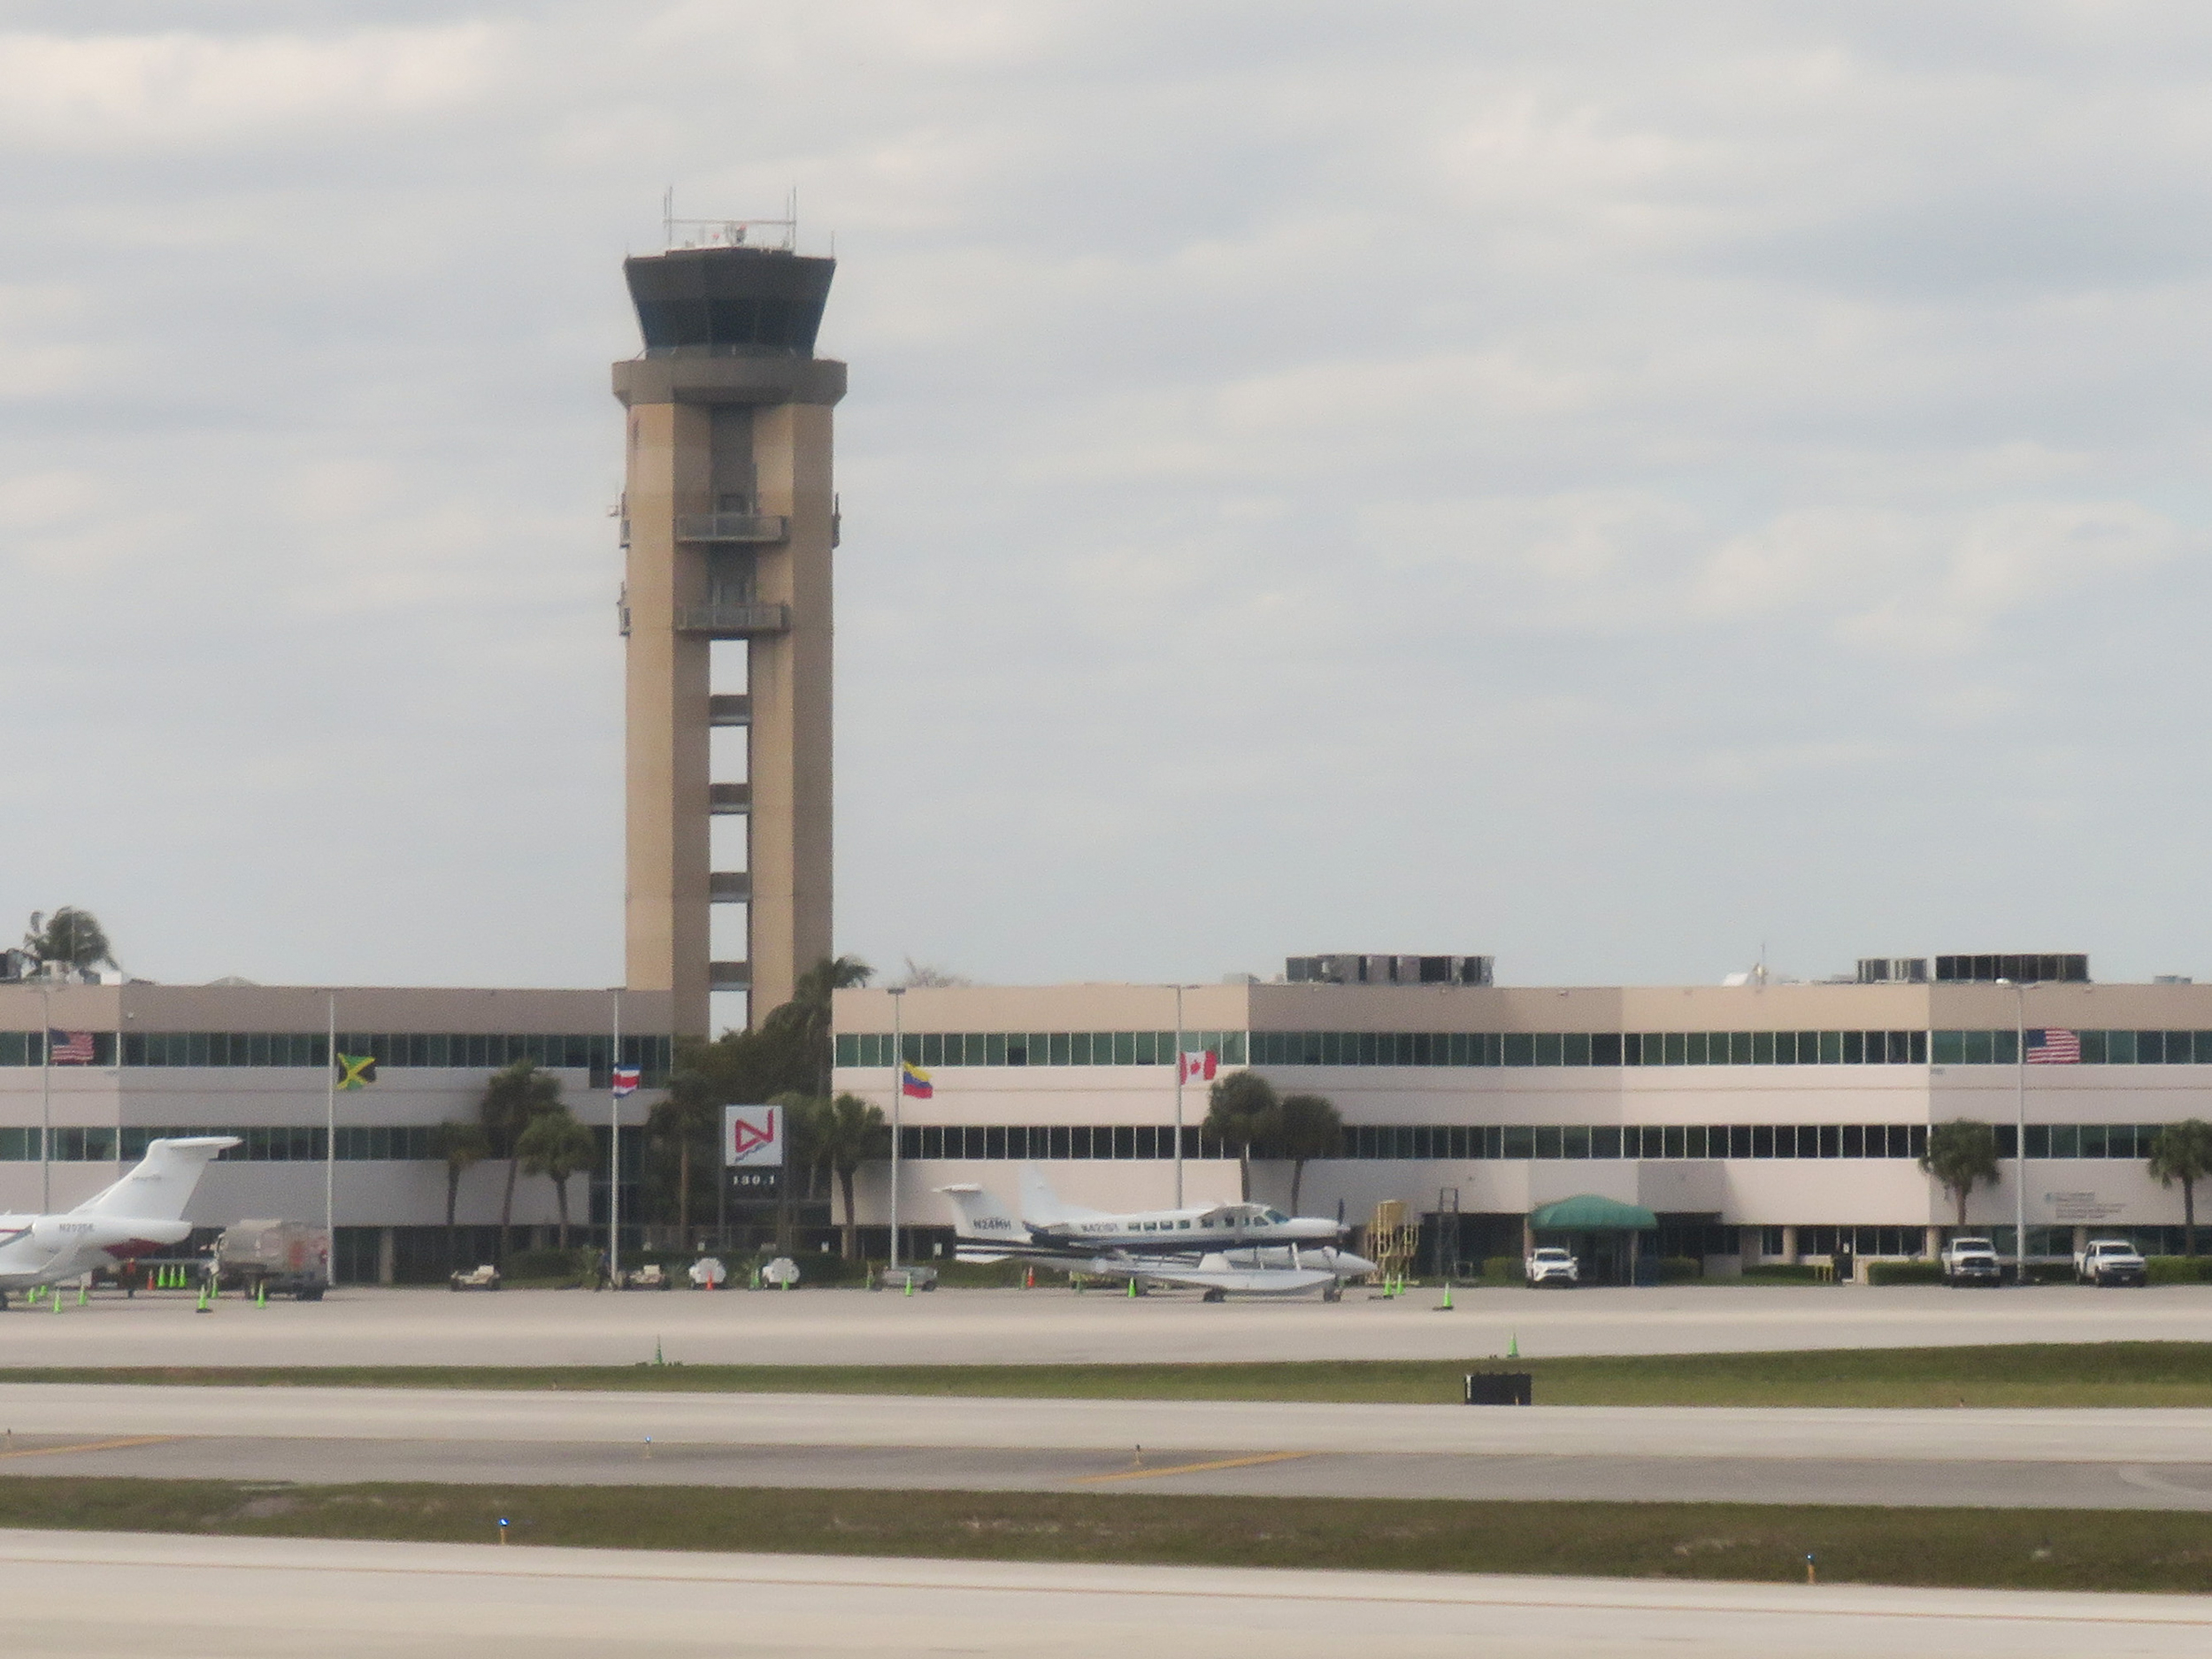
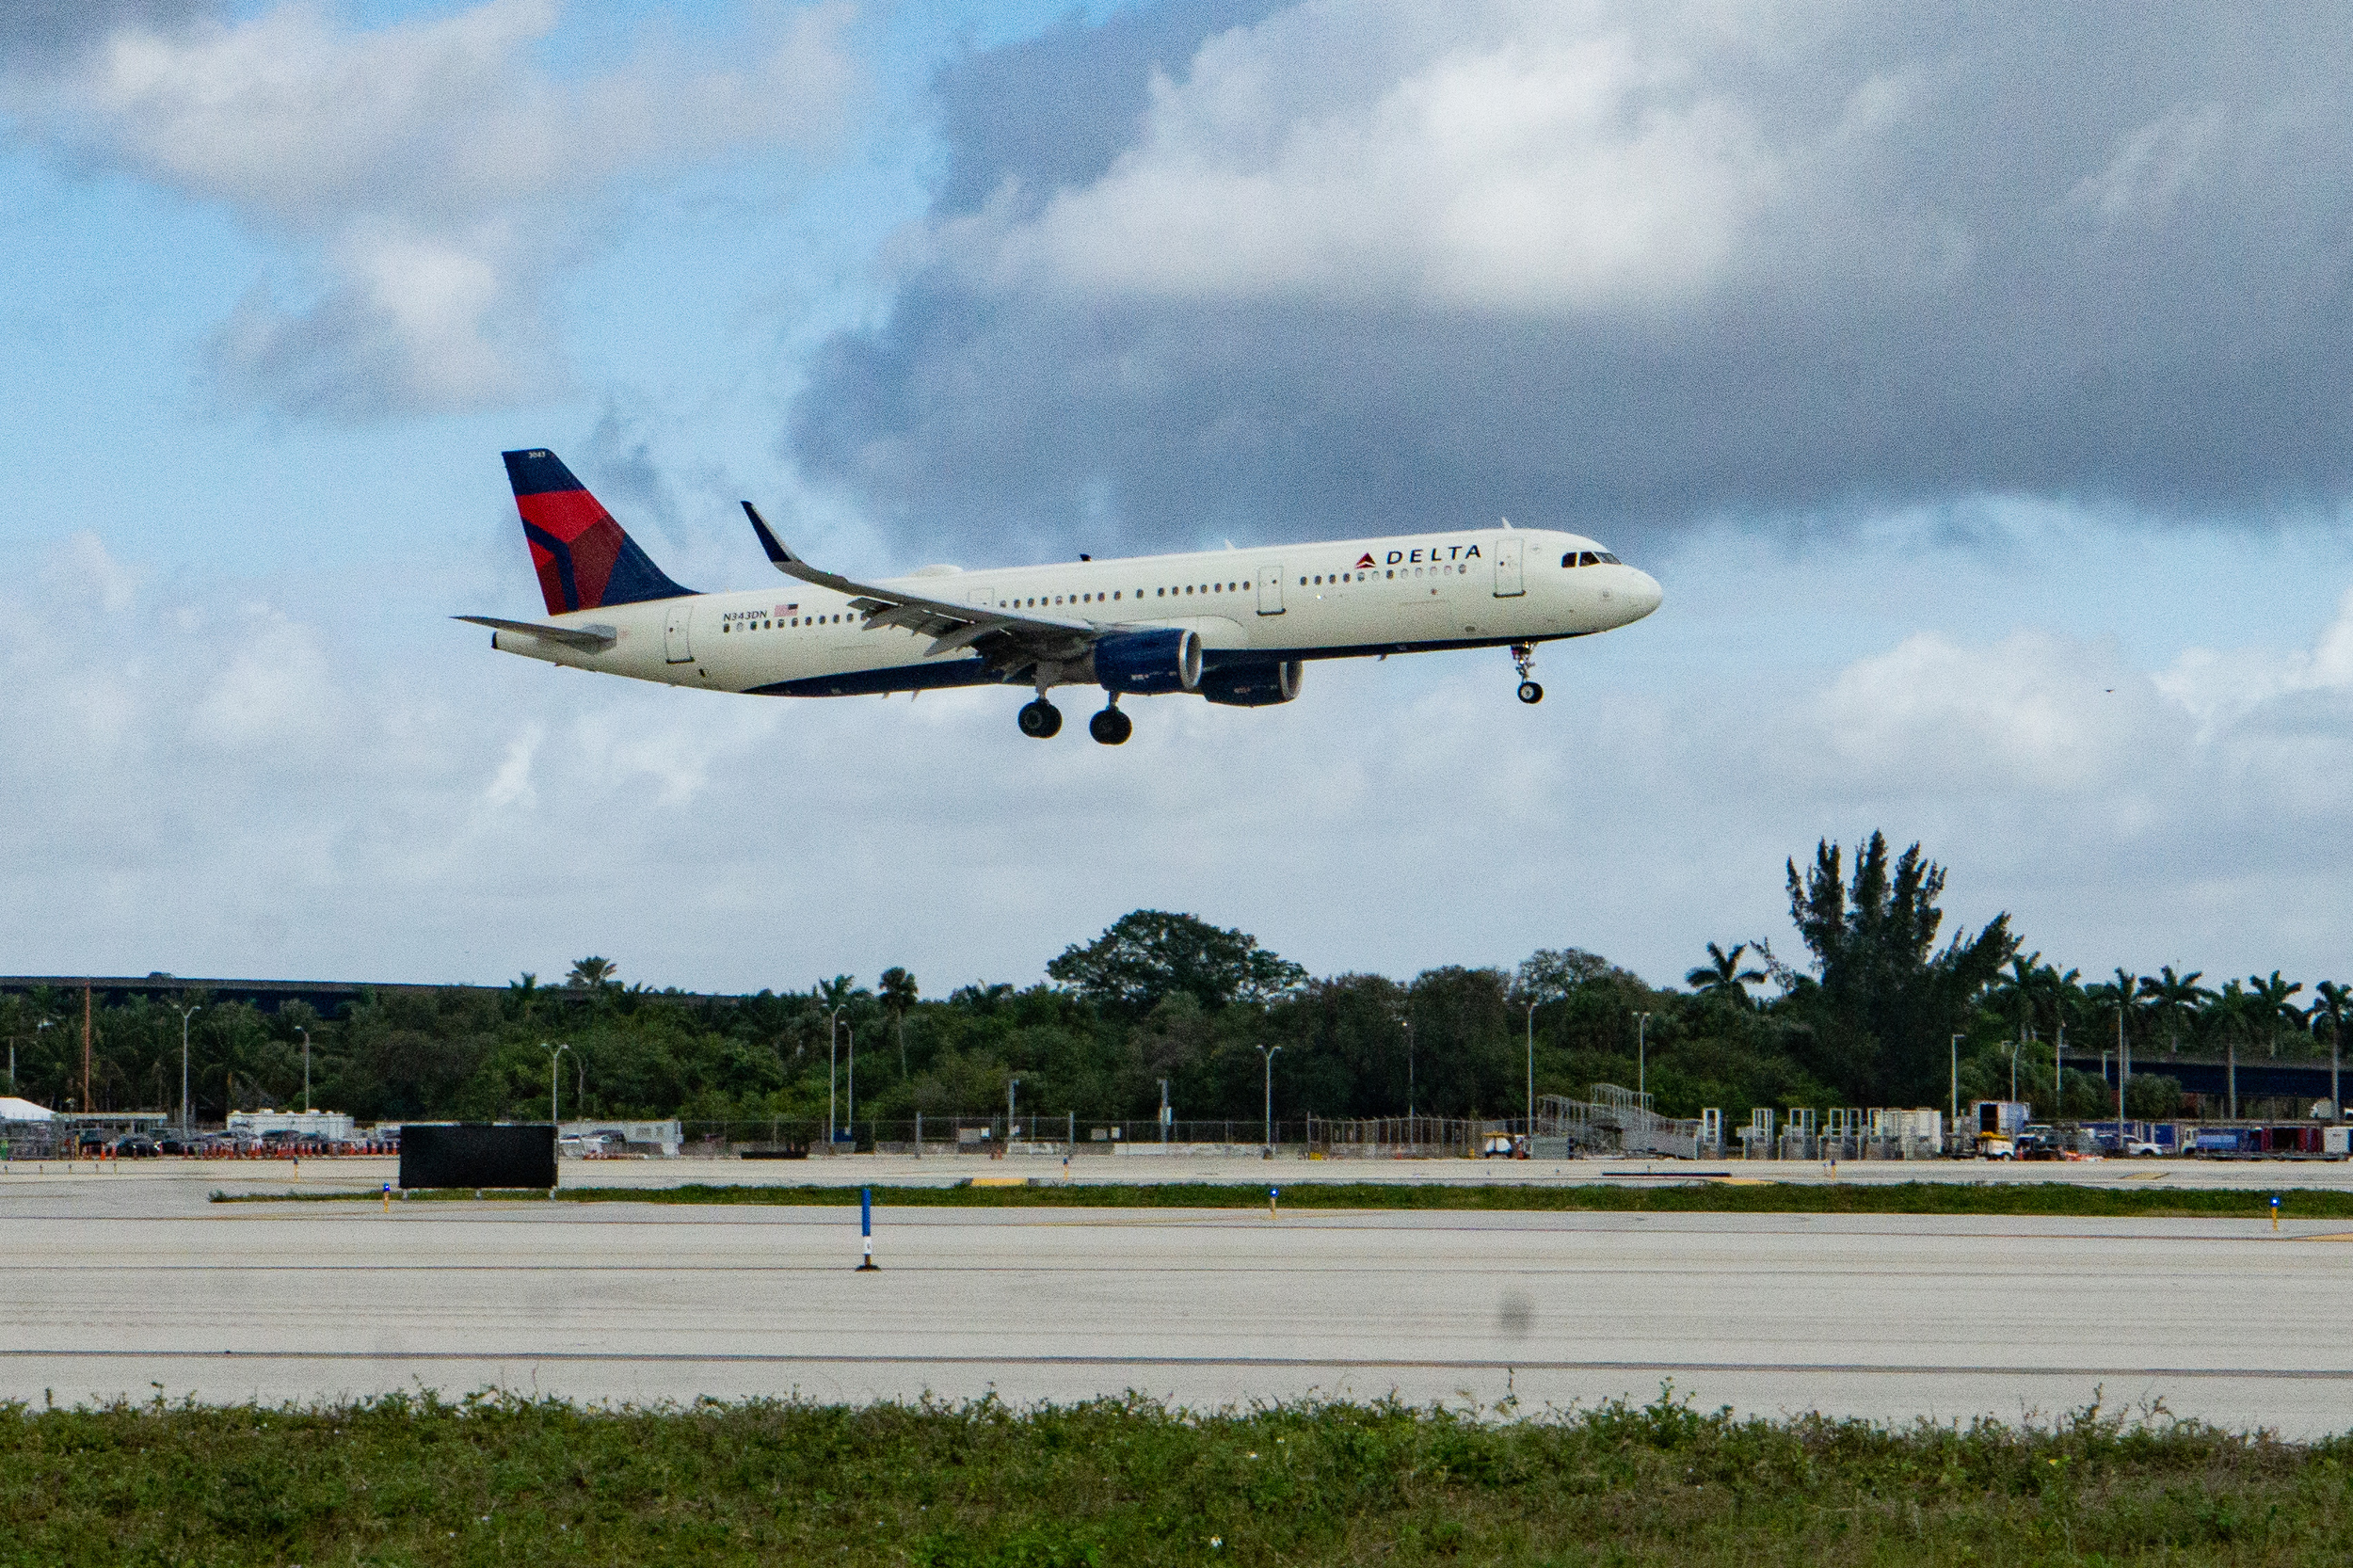
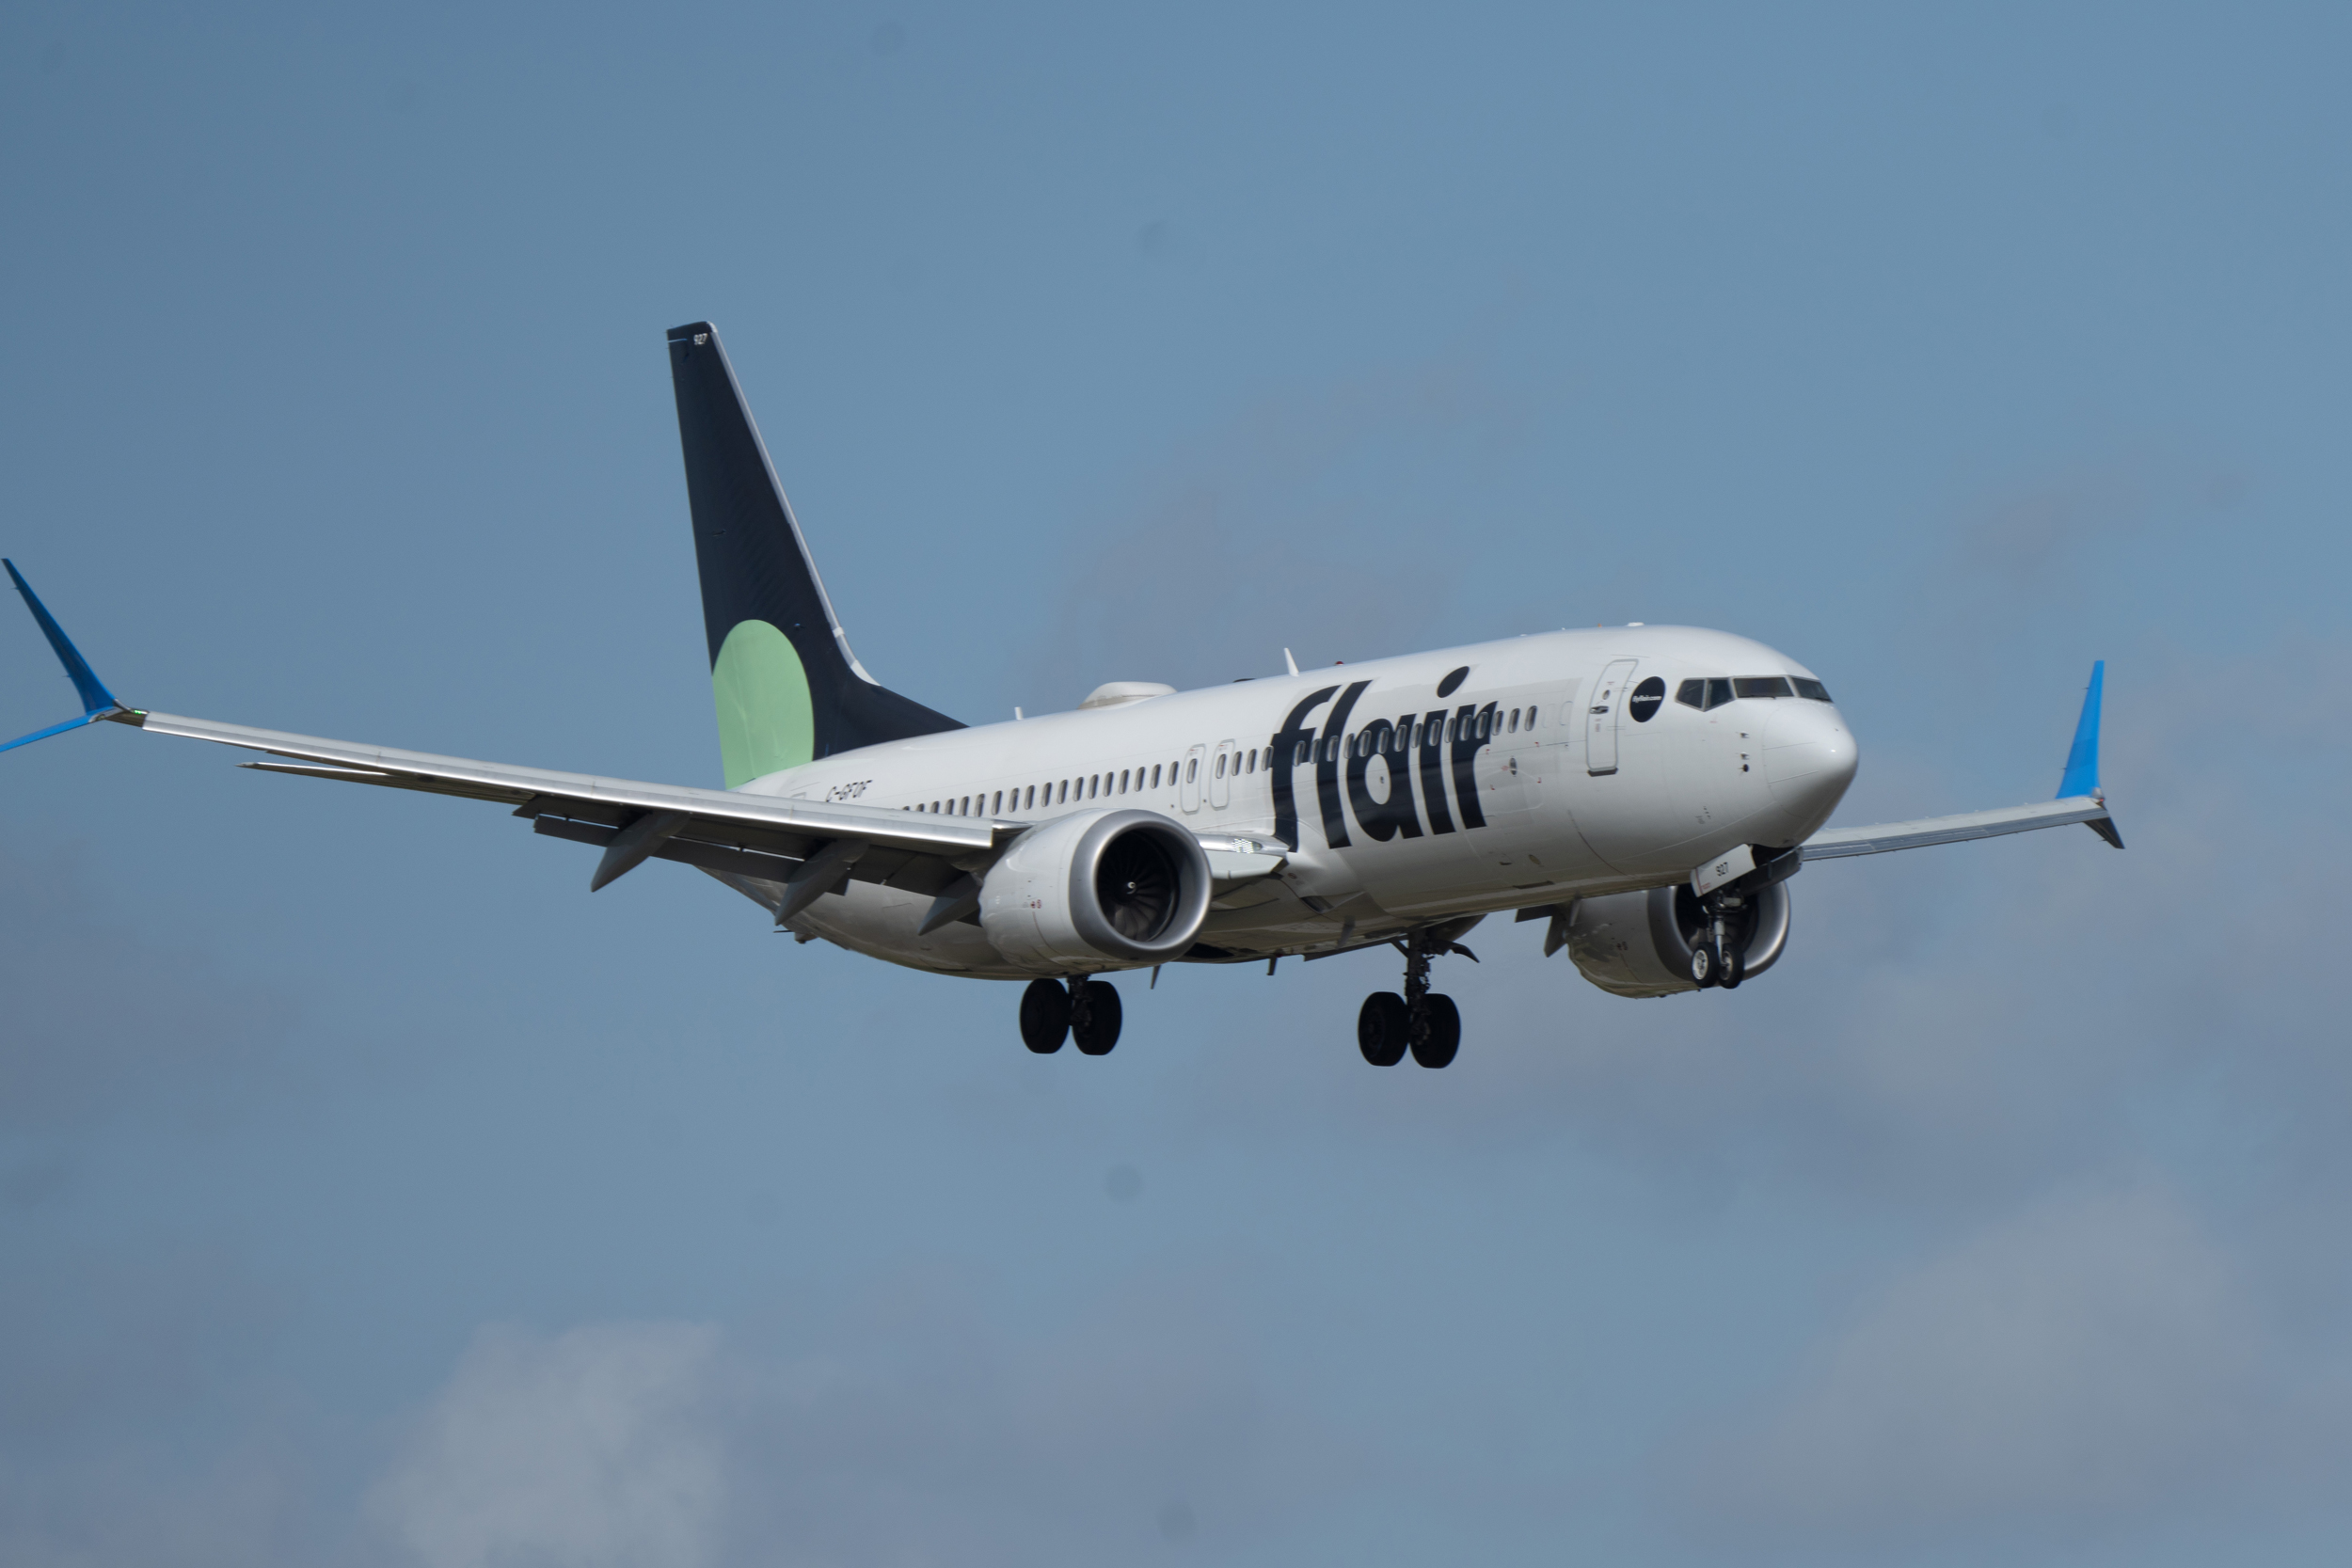
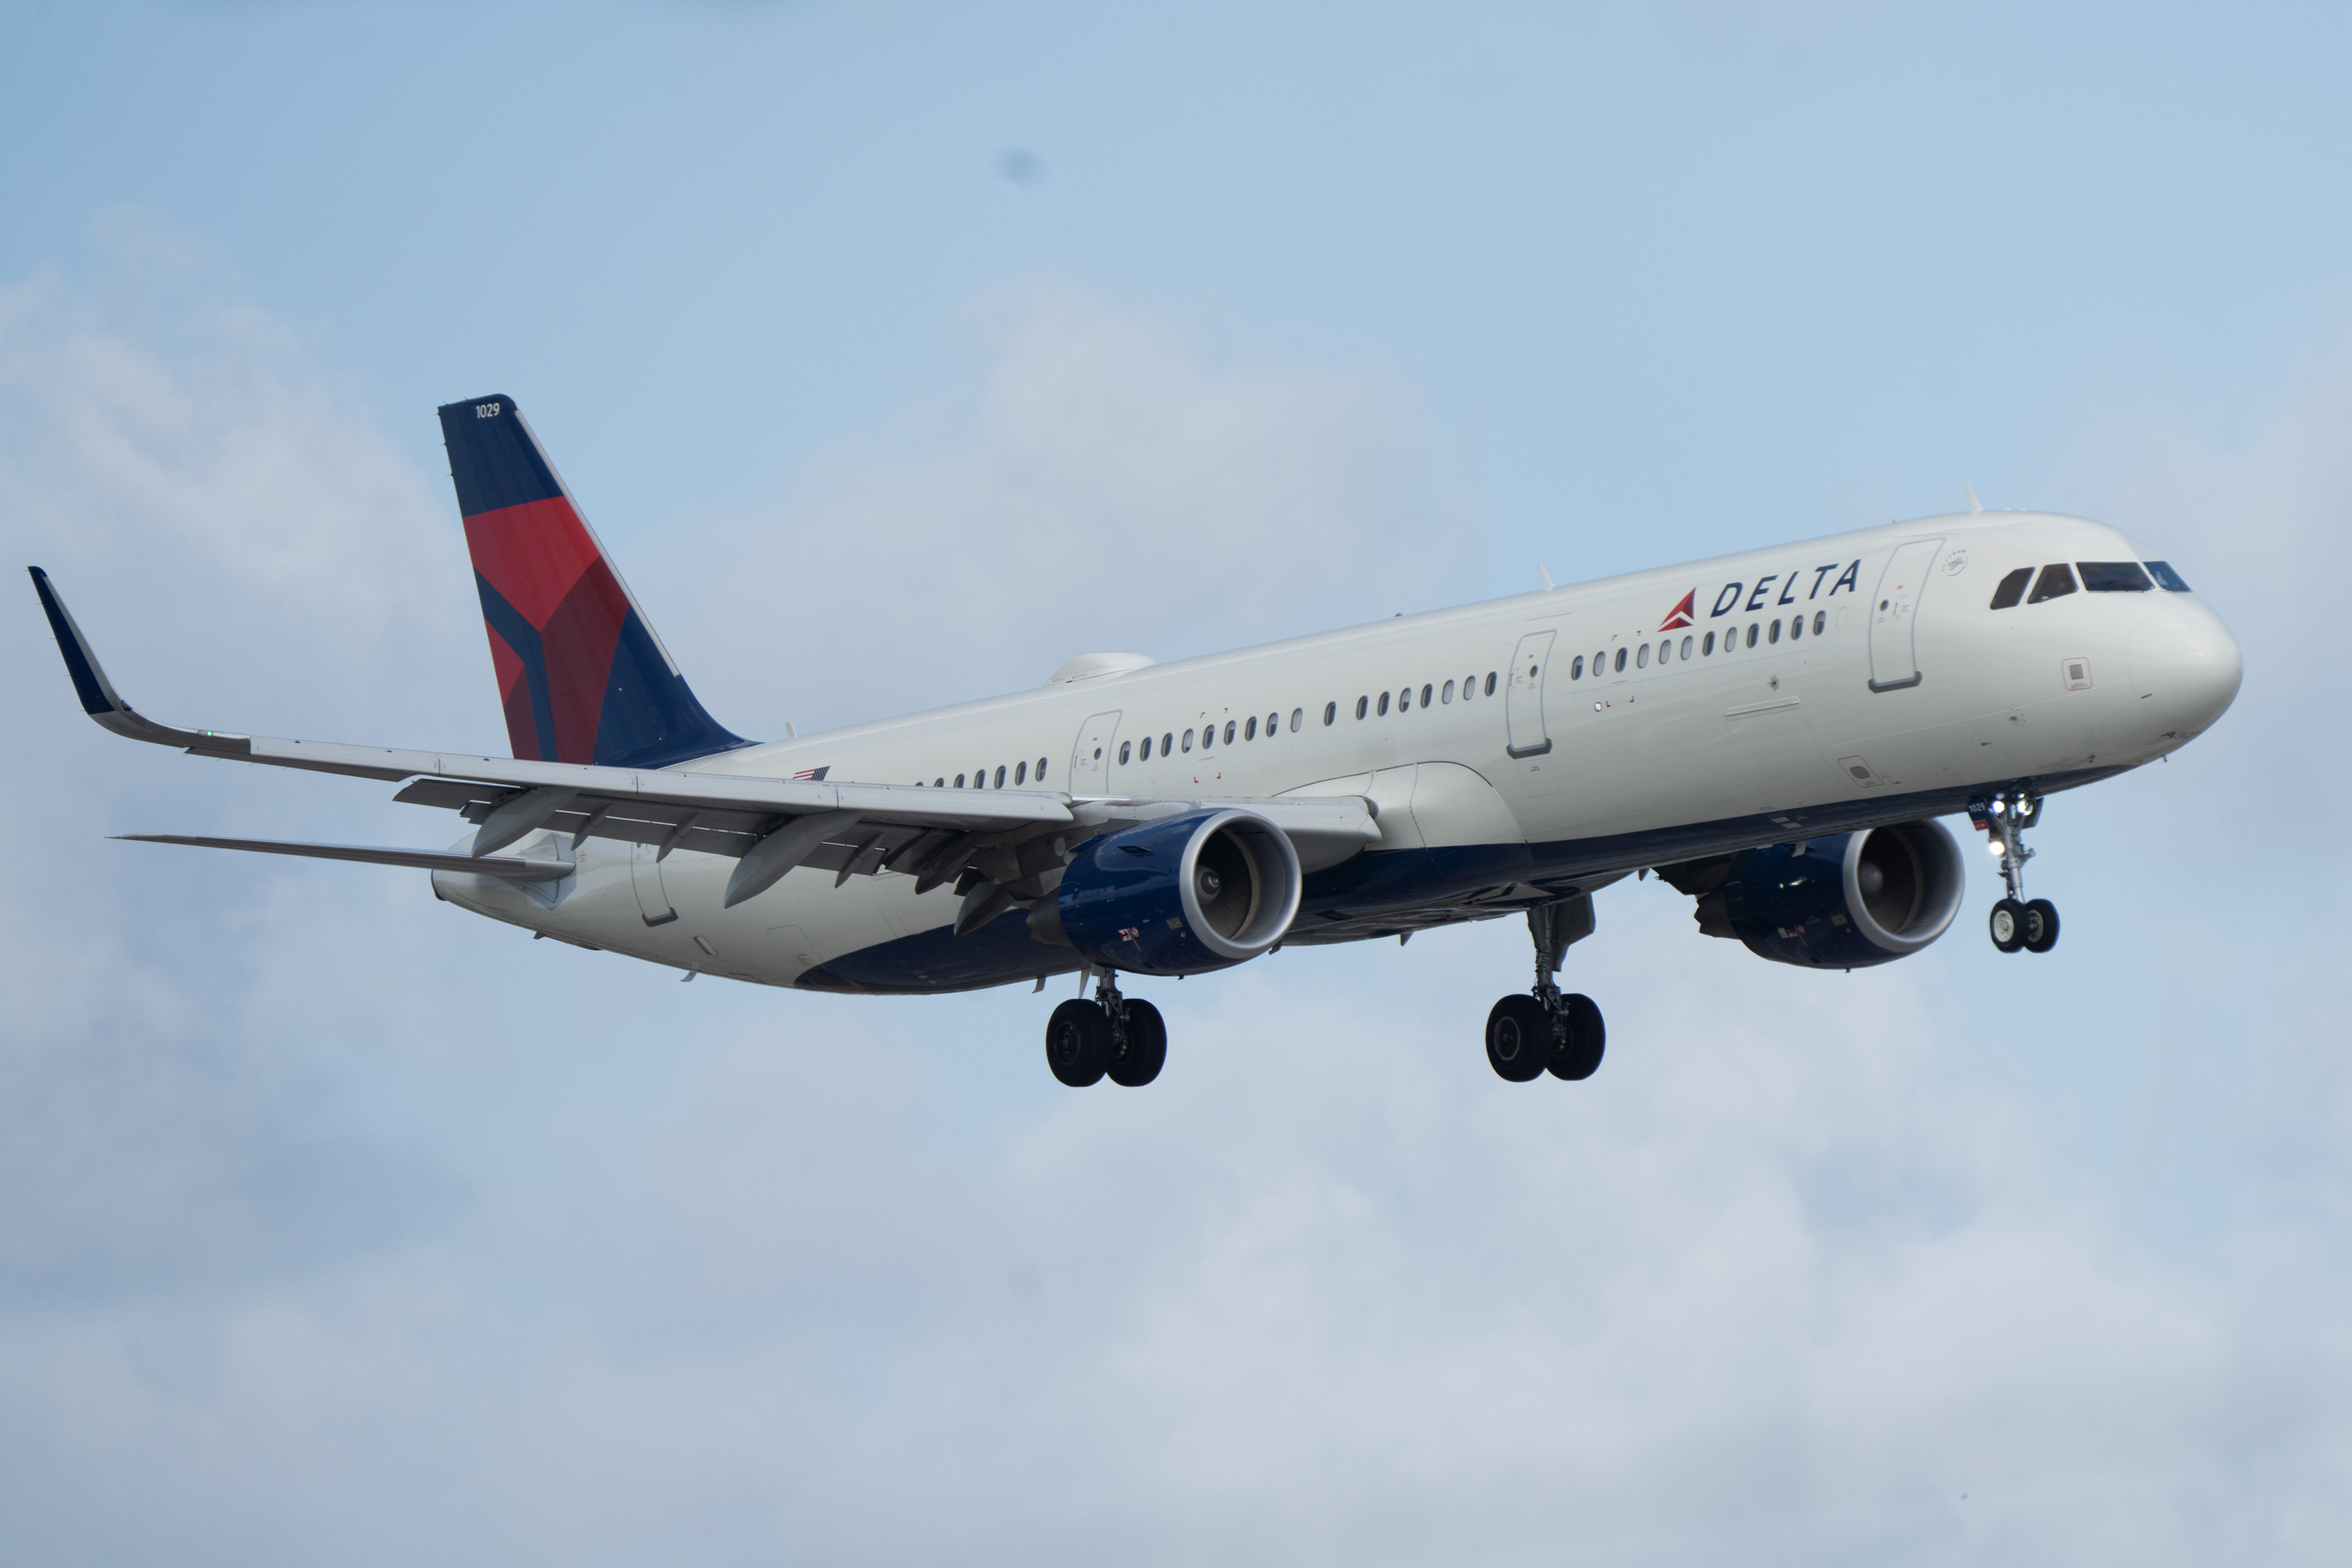
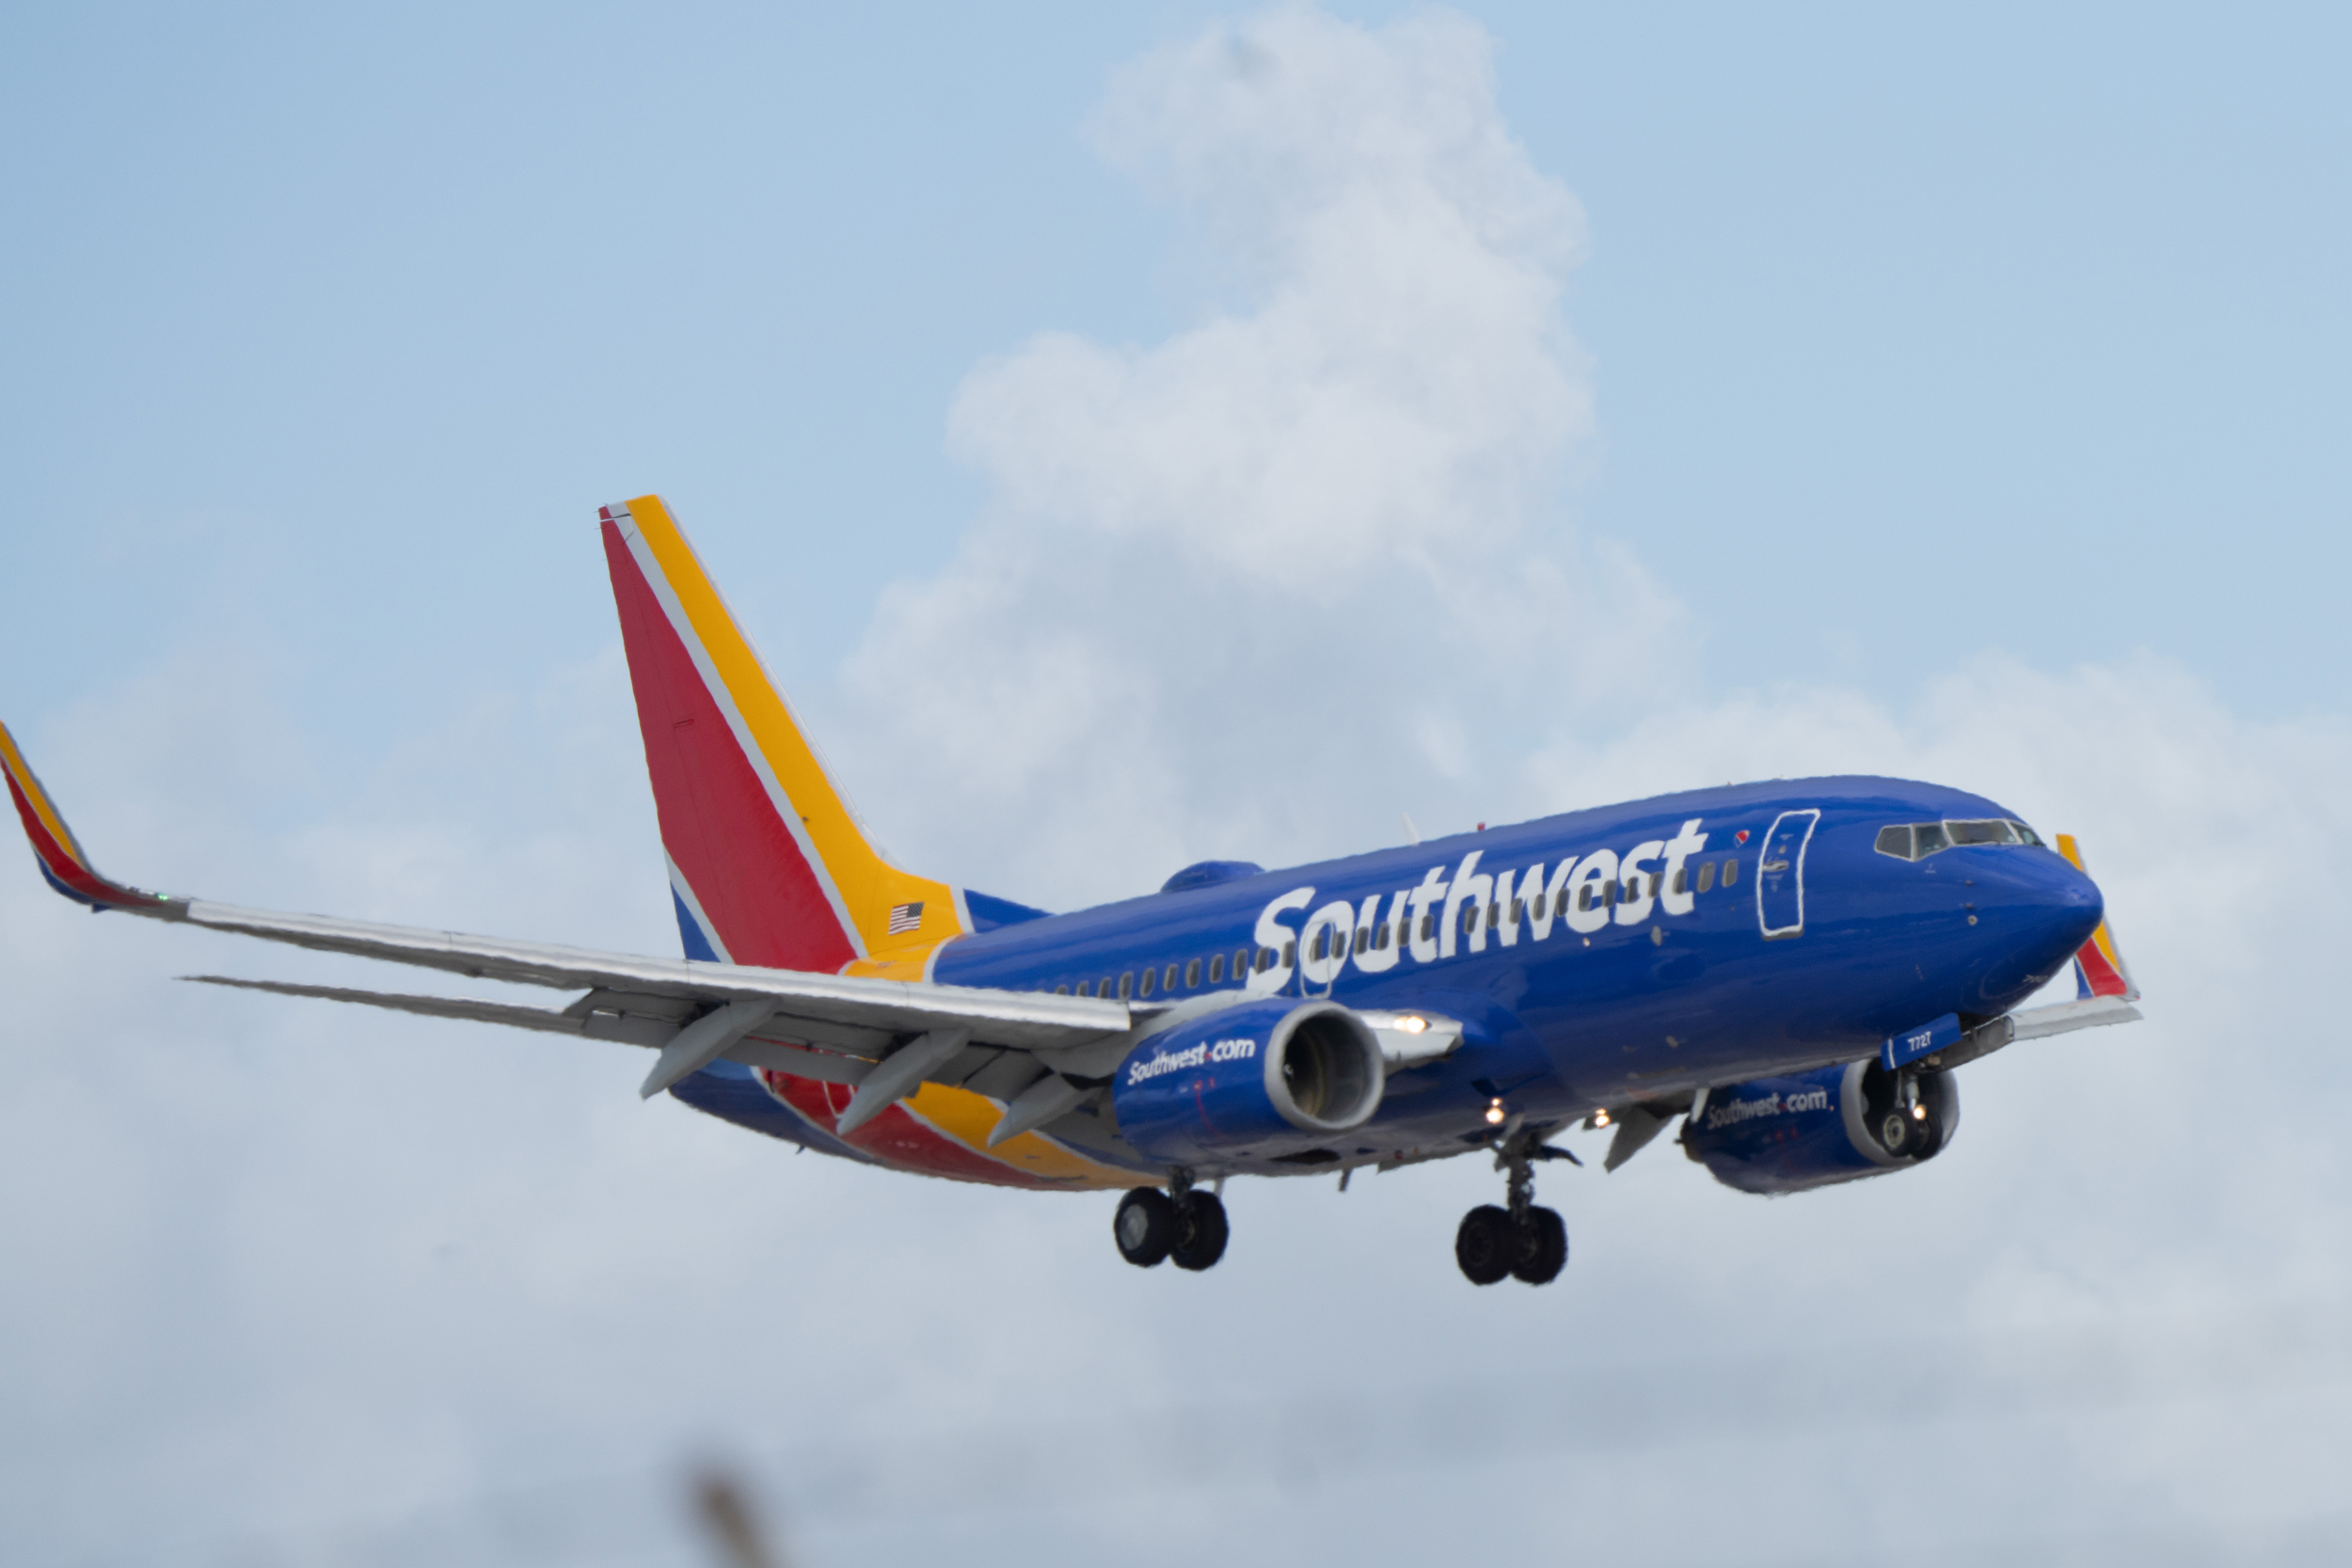
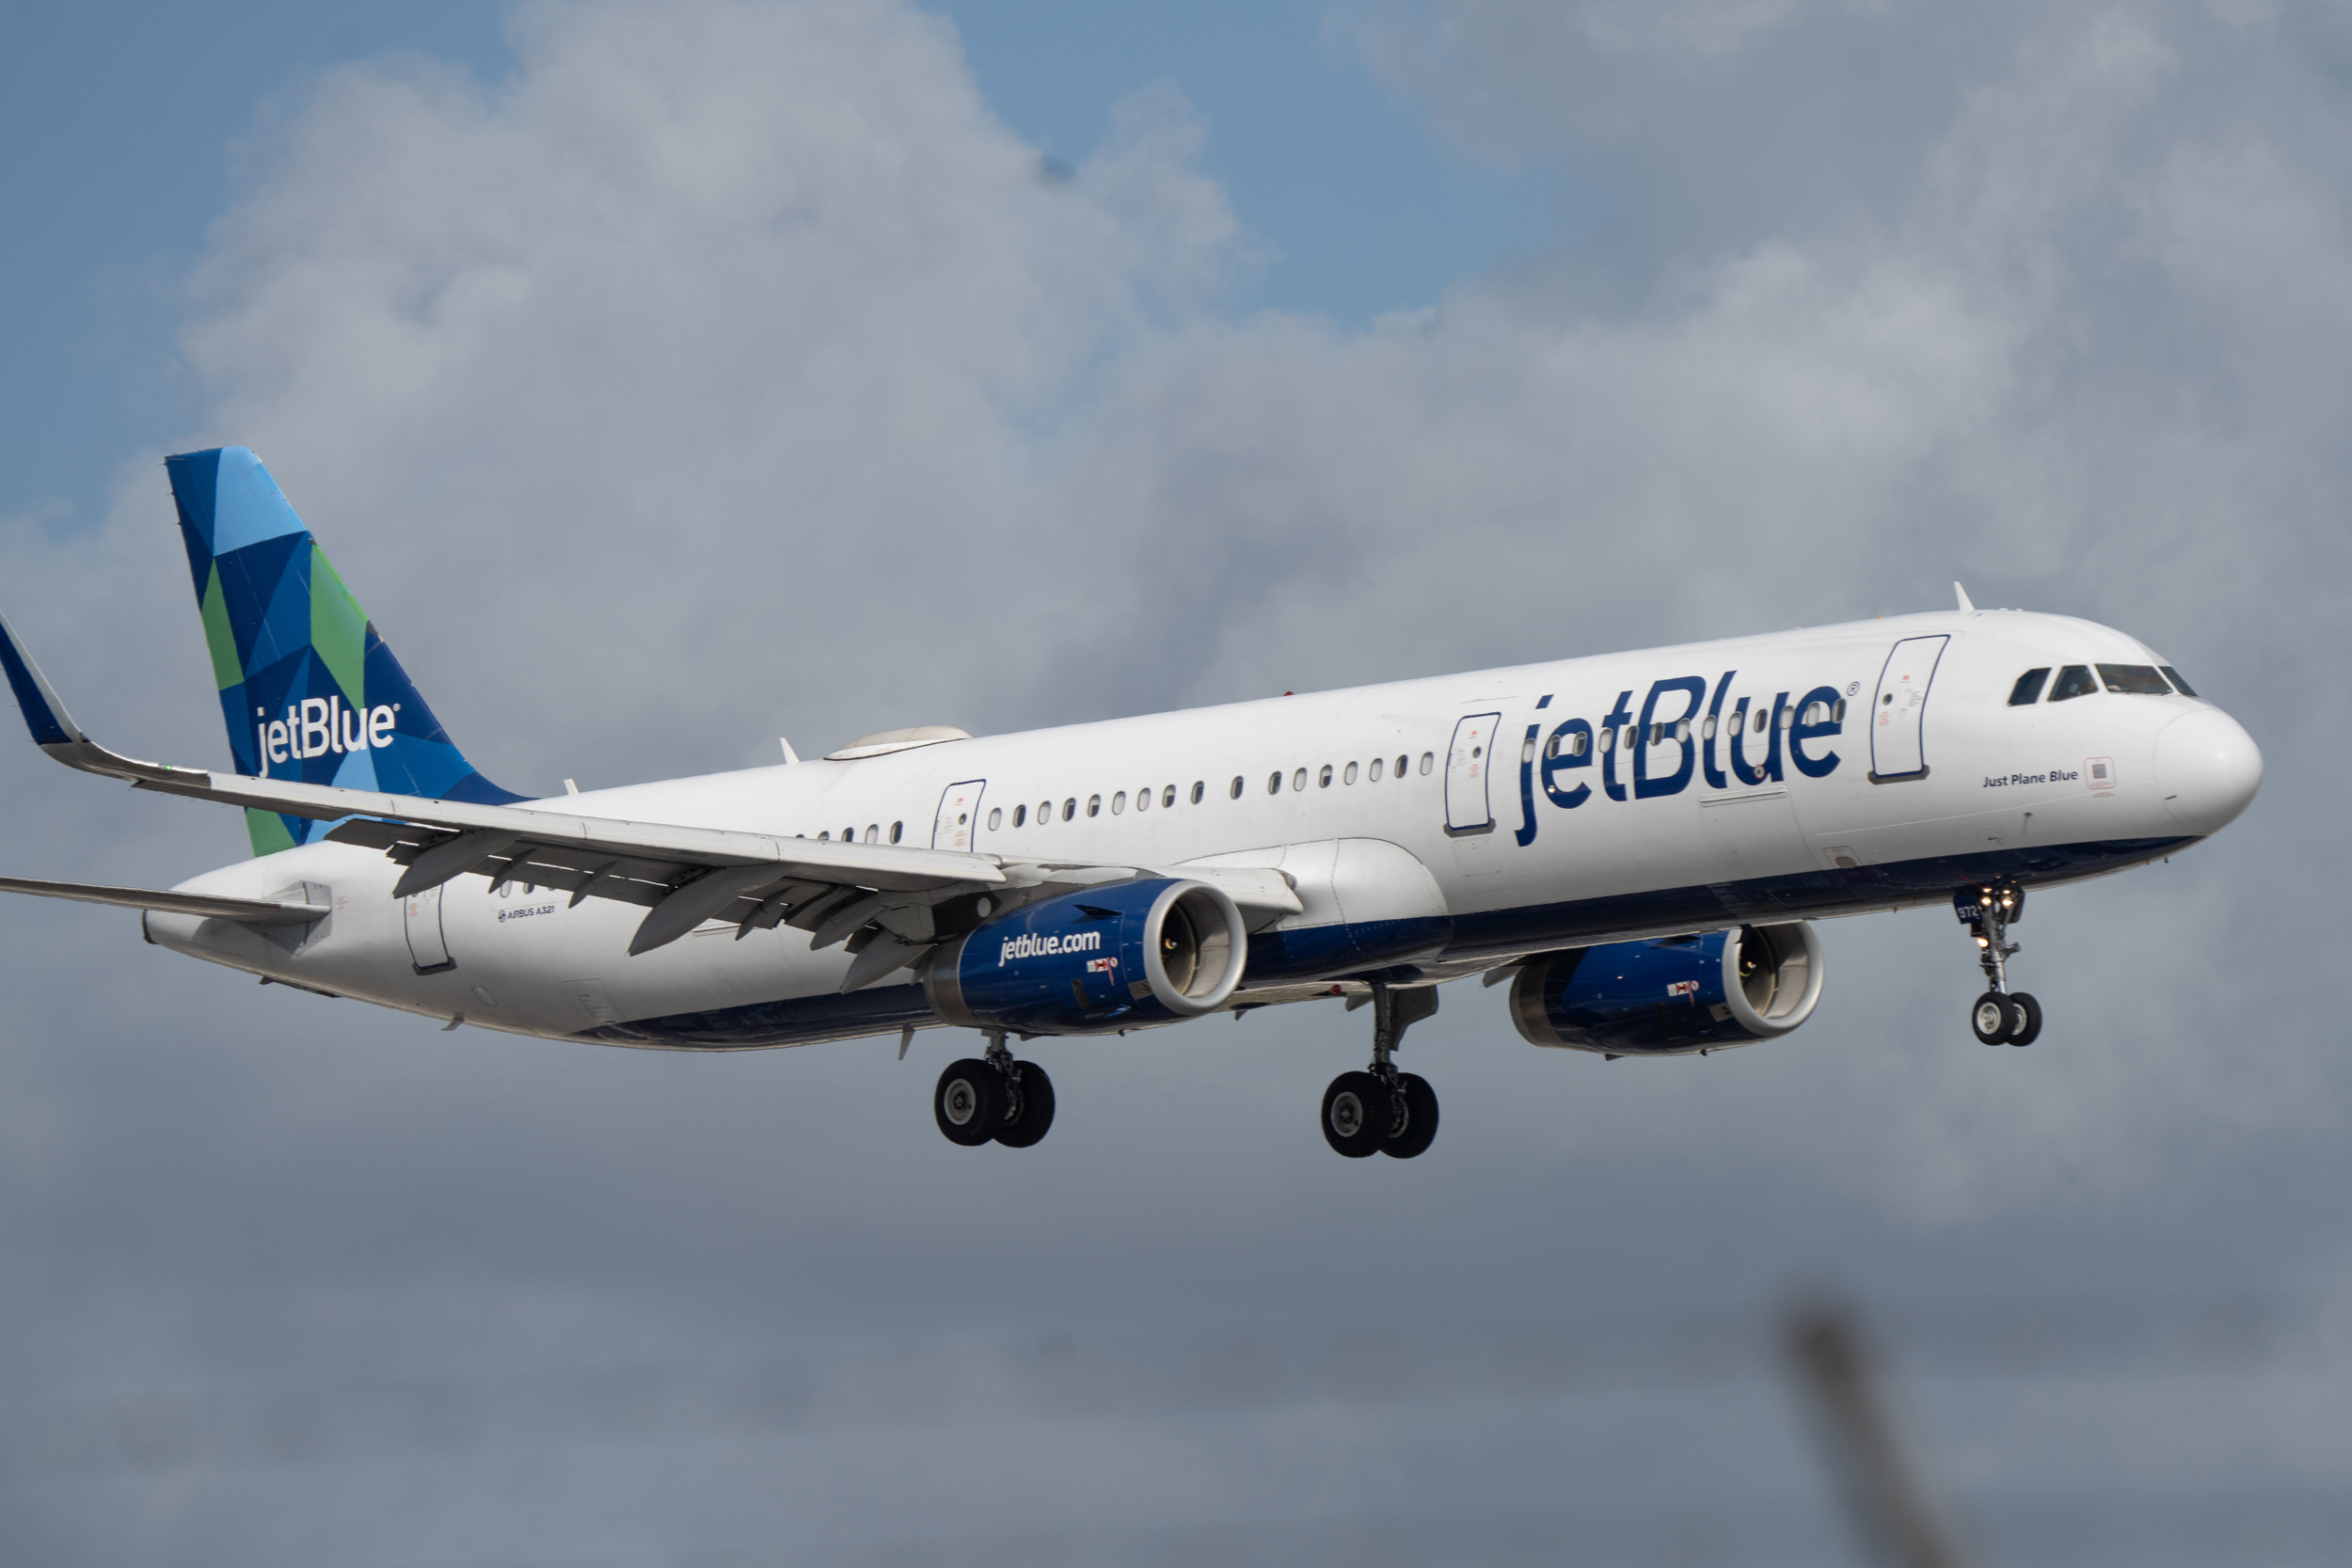
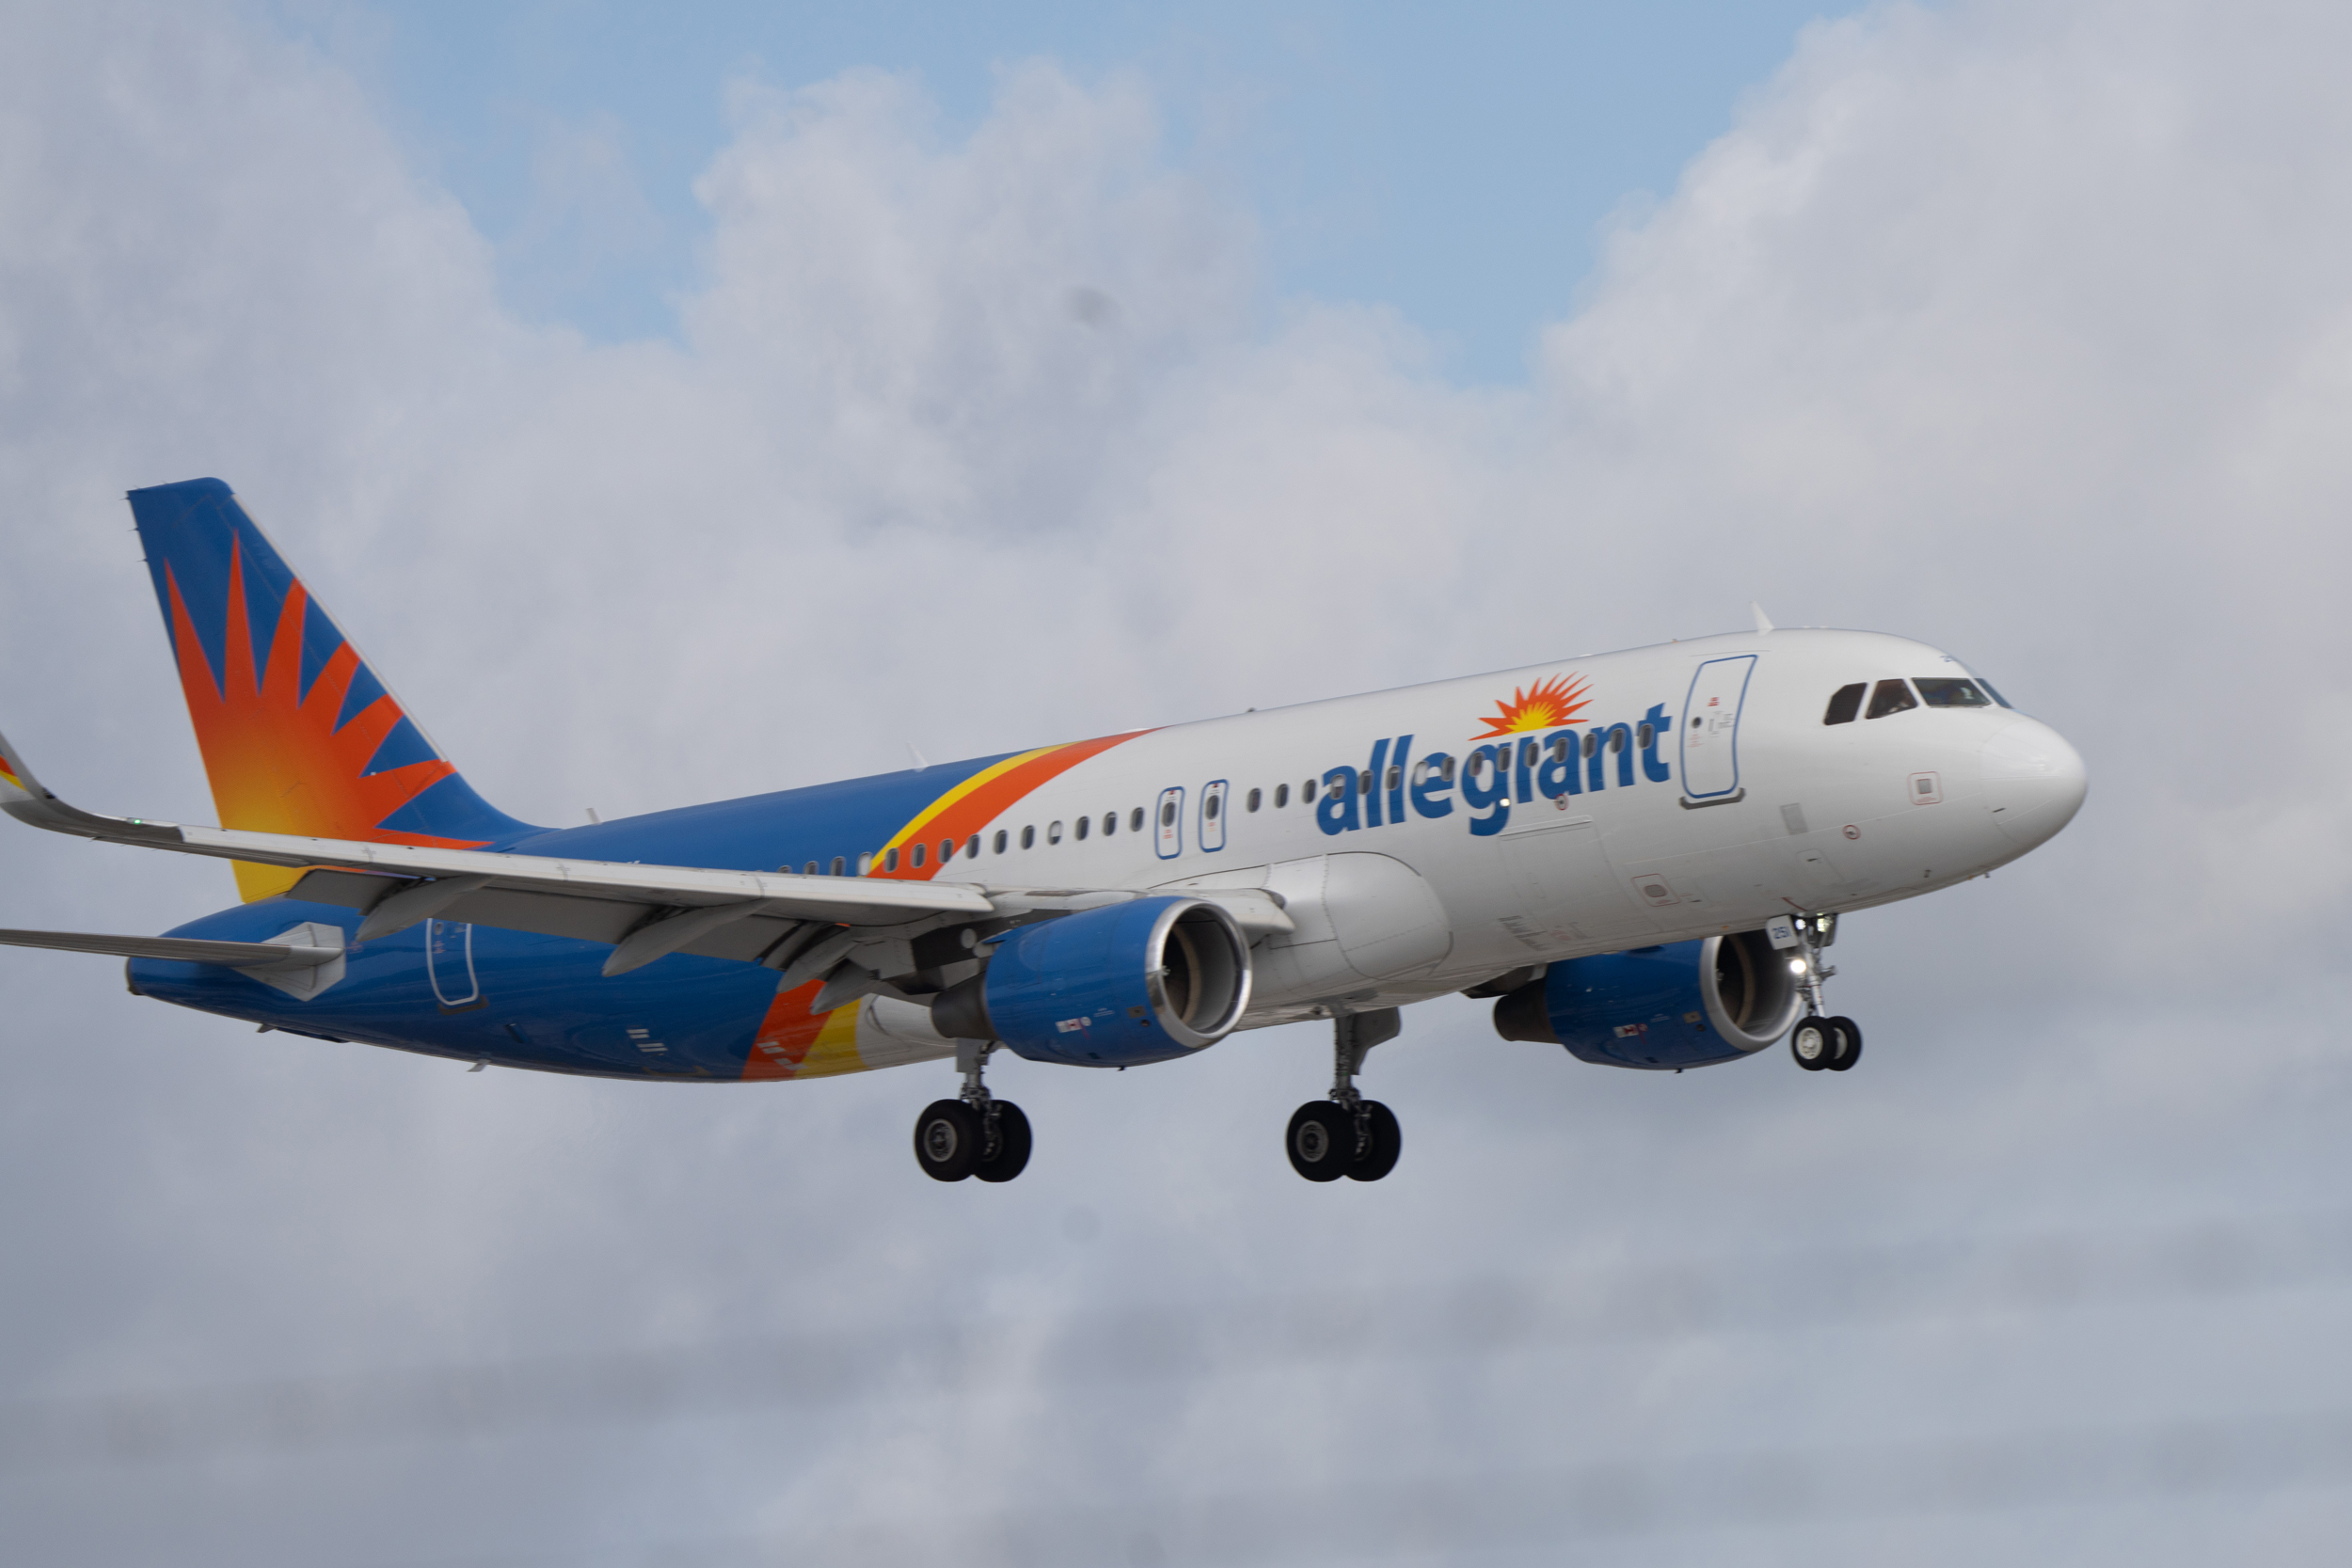
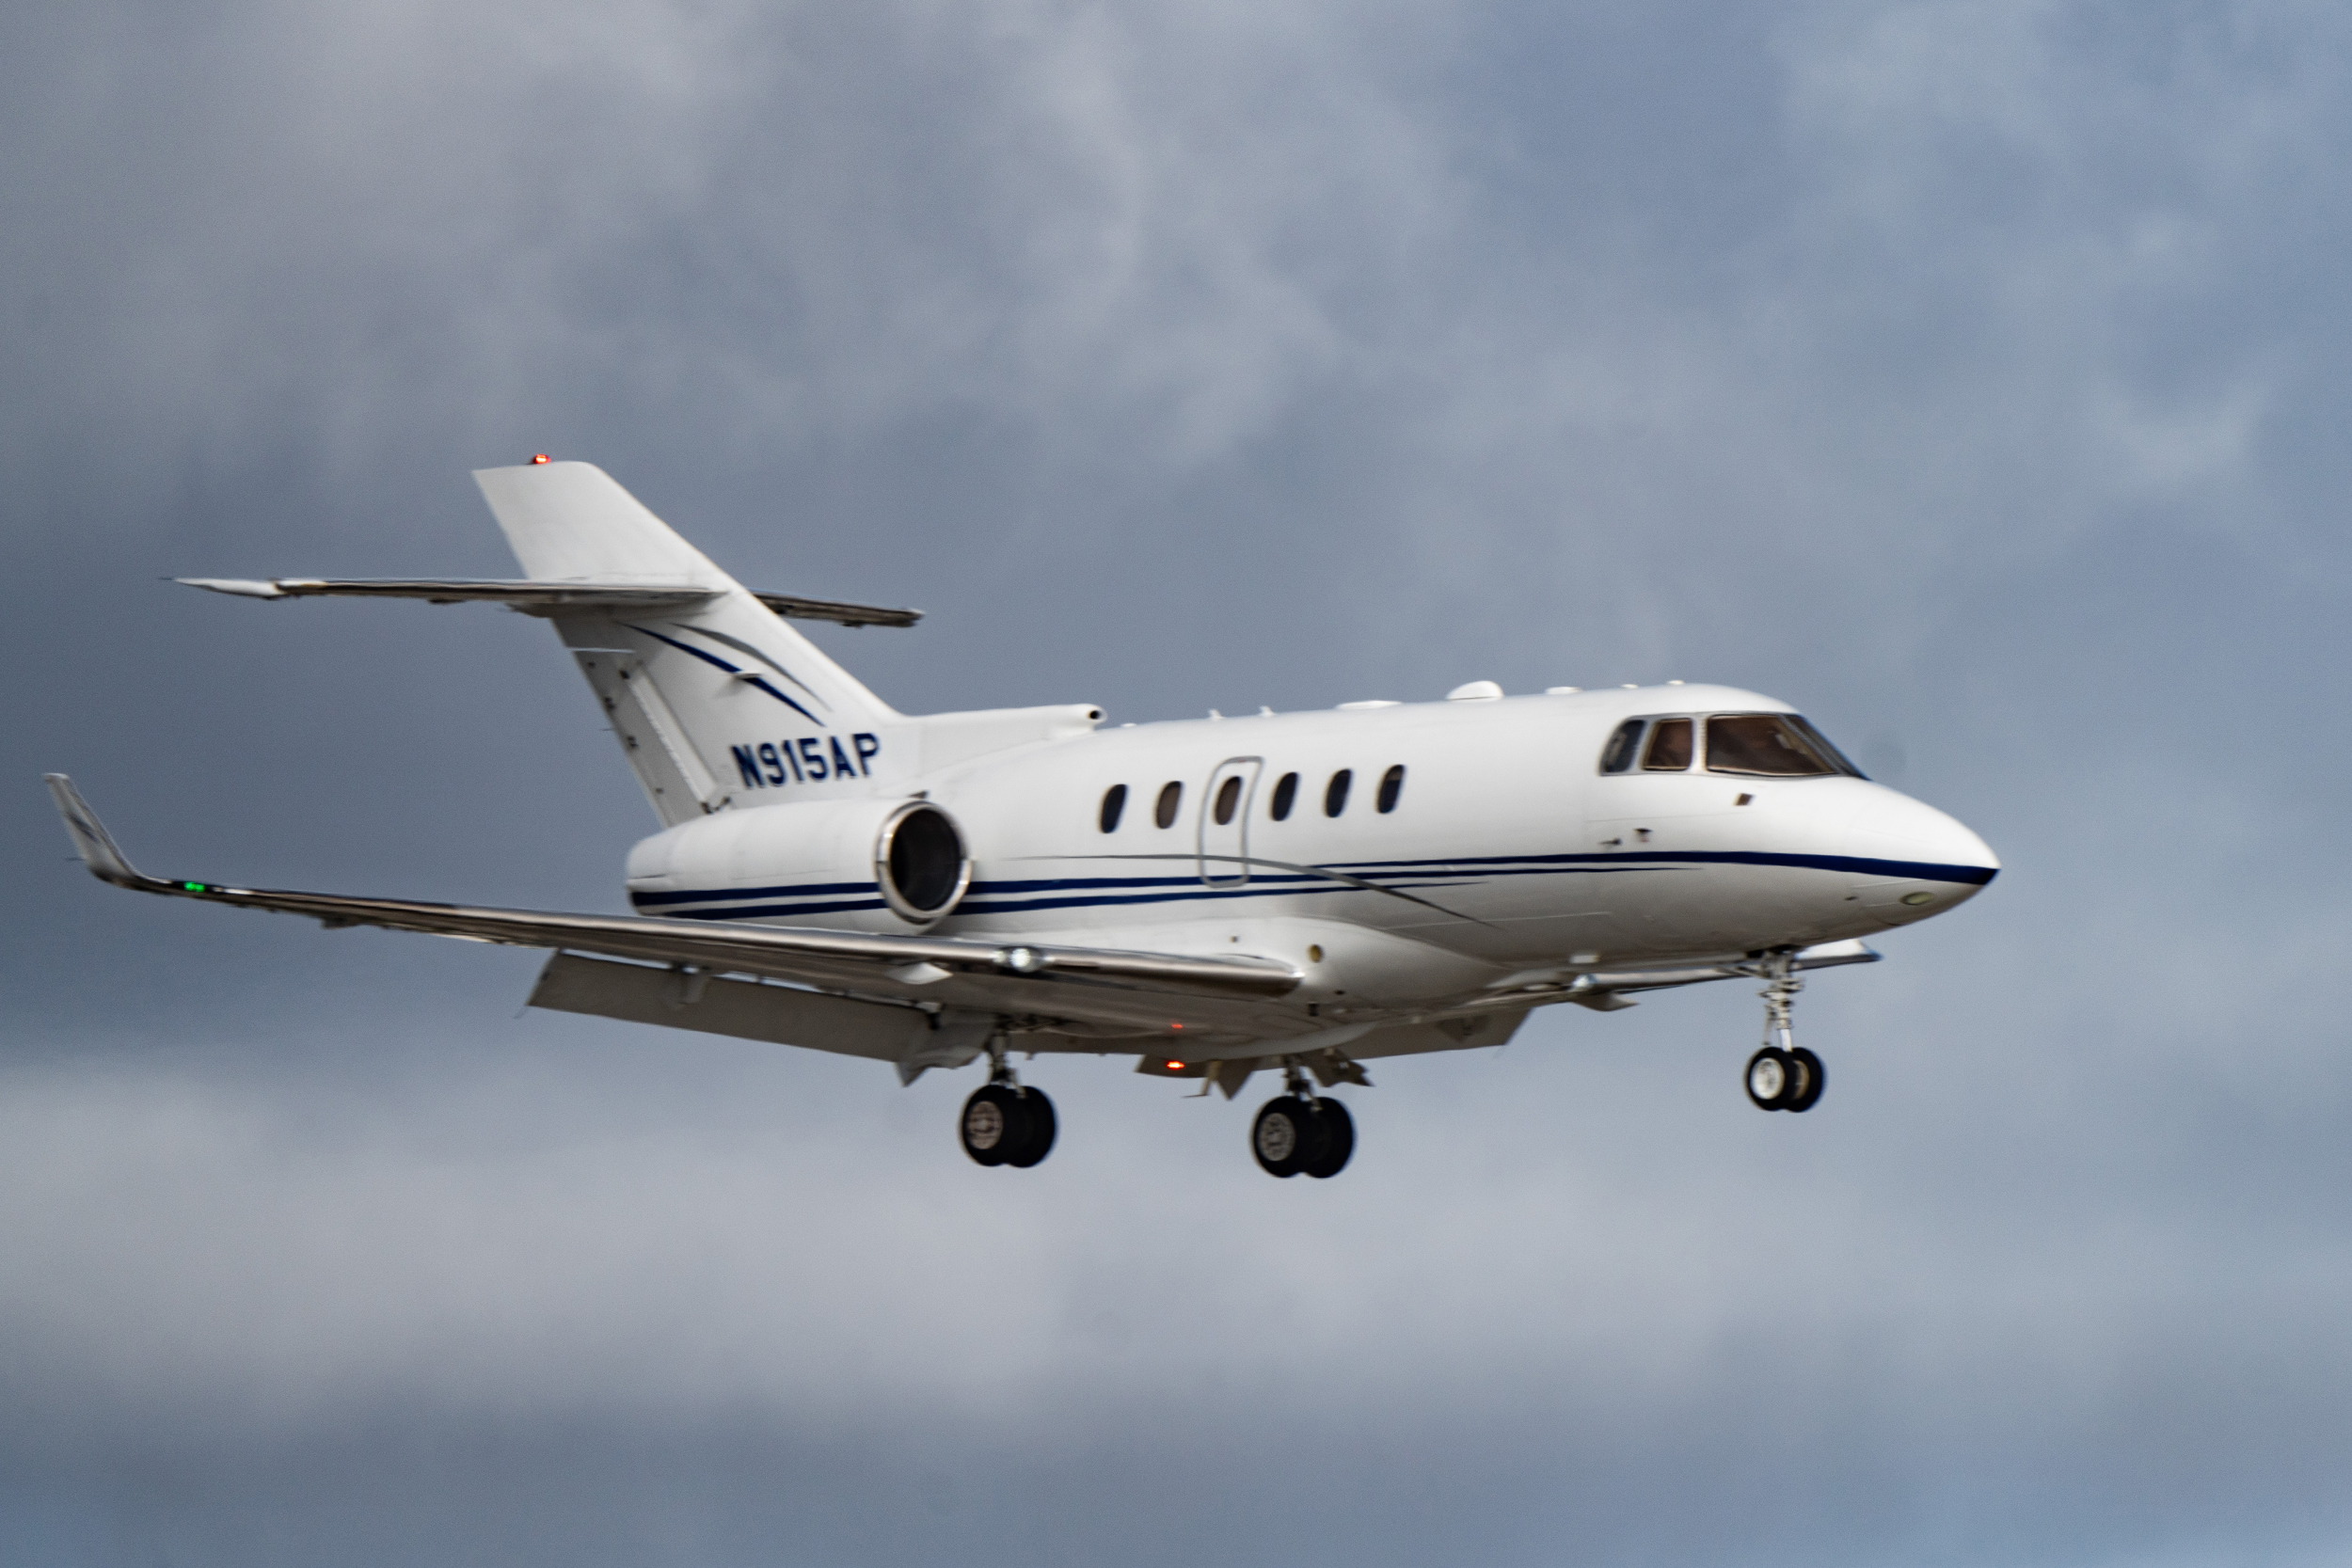
My most recent flight was from my home in Grand Rapids to Ft Lauderdale, FL. While there I took time to photograph a few planes landing at the Ft Lauderdale airport.
Below are some of the photos that I took out the window and others that I took from the ground in Ft Lauderdale.
Nature and outdoor photographers will tell you that you can never have too long of a lens – the more millimeters, the better! I’m one of those photographers.
For me a single lens that has wide angle settings for inclusive scenes and can zoom out to capture distant subjects is preferable to carrying multiple lenses. The lens that attracted my attention was an 18mm to 300mm zoom. However I was only able to find one made for APS-C sensor cameras.
My main camera has a large full-frame sensor with a resolution of 9504 x 6336 pixels. Luckily it can accept APS-C lenses although the sensor resolution is reduced to 6240 x 4160 pixels.
Here’s a small gallery comparing the relative image sizes when using the APS-C lens and full-frame lens. While these samples are not subjects from the outdoors I hope that they illustrate the concept of mm reach.
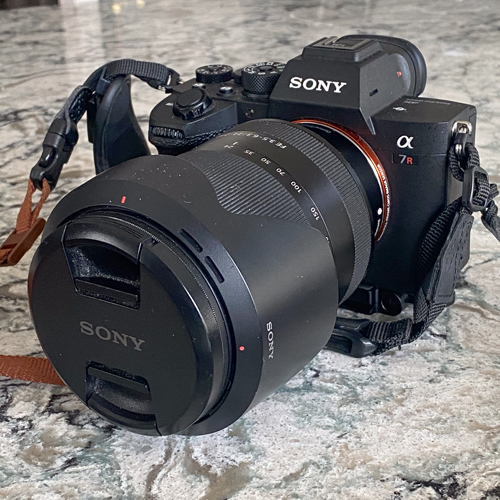
This is my full frame Sony A7R IV camera. Its huge sensor captures 9504 x 6336 pixels.
Here’s my Sony 24-240mm full frame lens which captures the full 9504 x 6336 pixels.
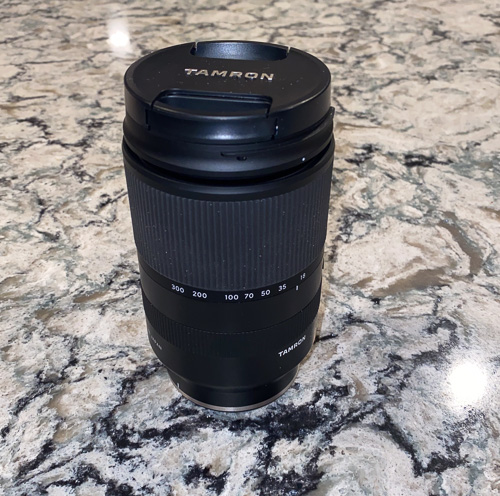
When used on my Sony camera the Tamron 18-300mm lens captures 6240 x 4160 pixels.
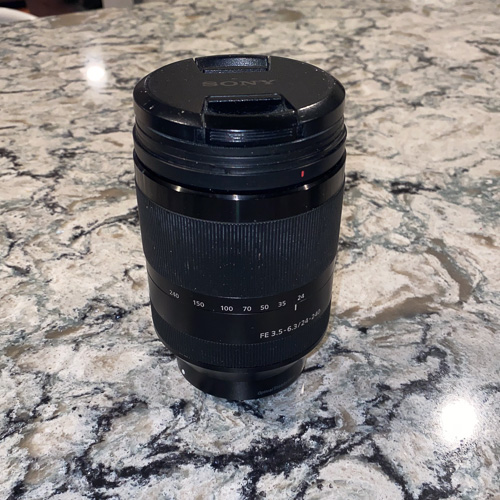
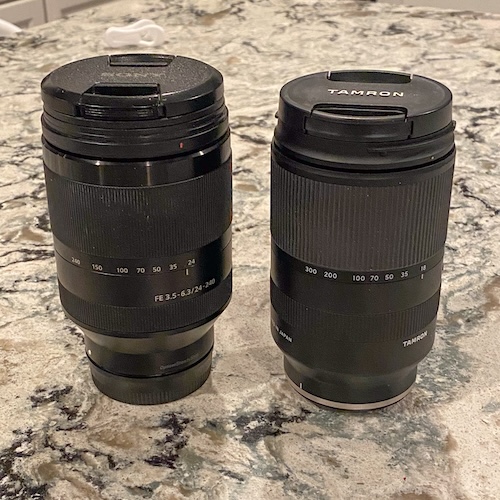
Here’s a picture to compare the sizes of both Sony 24-240mm and Tamron 18-300mm lenses.
Below are side by side sample photos taken at various lens setting. The photos on the left were all taken with the Tamron APS-C lens. The photos on the right were taken with the Sony full frame lens.
Keep in mind that although the subject size is smaller on the right, there are more pixels available if you crop the image in post processing.
For me, the bonus in using the Tamron lens is the addition of reach up to 300mm which gives me the ability to capture more distant subjects from a single lens.
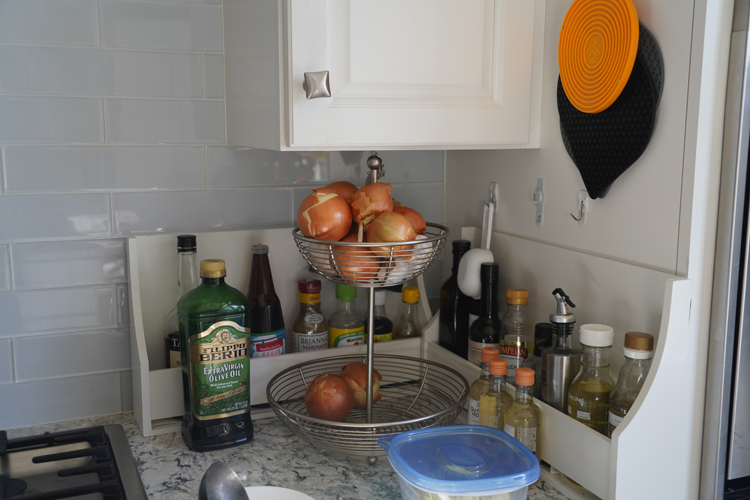
Tamron APS-C lens set at 24mm – 6240 x 4160 pixels
Sony full frame lens set at 24mm – 9504 x 6336 pixels
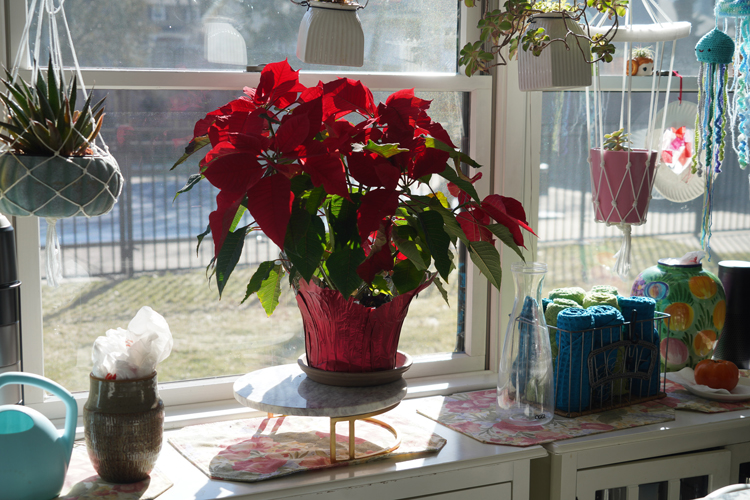
Tamron APS-C lens set at 35mm – 6240 x 4160 pixels
Sony full frame lens set at 35mm – 9504 x 6336 pixels
Tamron APS-C lens set at 50mm – 6240 x 4160 pixels
Sony full frame lens set at 50mm – 9504 x 6336 pixels
Tamron APS-C lens set at 100mm – 6240 x 4160 pixels
Sony full frame lens set at 100mm – 9504 x 6336 pixels
Tamron APS-C lens set at 200mm – 6240 x 4160 pixels
Sony full frame lens set at 200mm – 9504 x 6336 pixels
Tamron APS-C lens set at 240mm – 6240 x 4160 pixels
Sony full frame lens set at 240mm – 9504 x 6336 pixels
Tamron APS-C lens set at 300mm gives me additional reach compared to the Sony lens – 6240 x 4160 pixels
Sony full frame lens set at it maximum setting of 240mm – 9504 x 6336 pixels
I just returned from a recent trip with my full frame Sony camera and the Tamron lens. The two photos below were taken from a distance and the extra mm’s gave me a more detailed images of the two birds.
My back was grateful too since I was weighted down with only a single lens instead of two lenses that could offer me the same range.
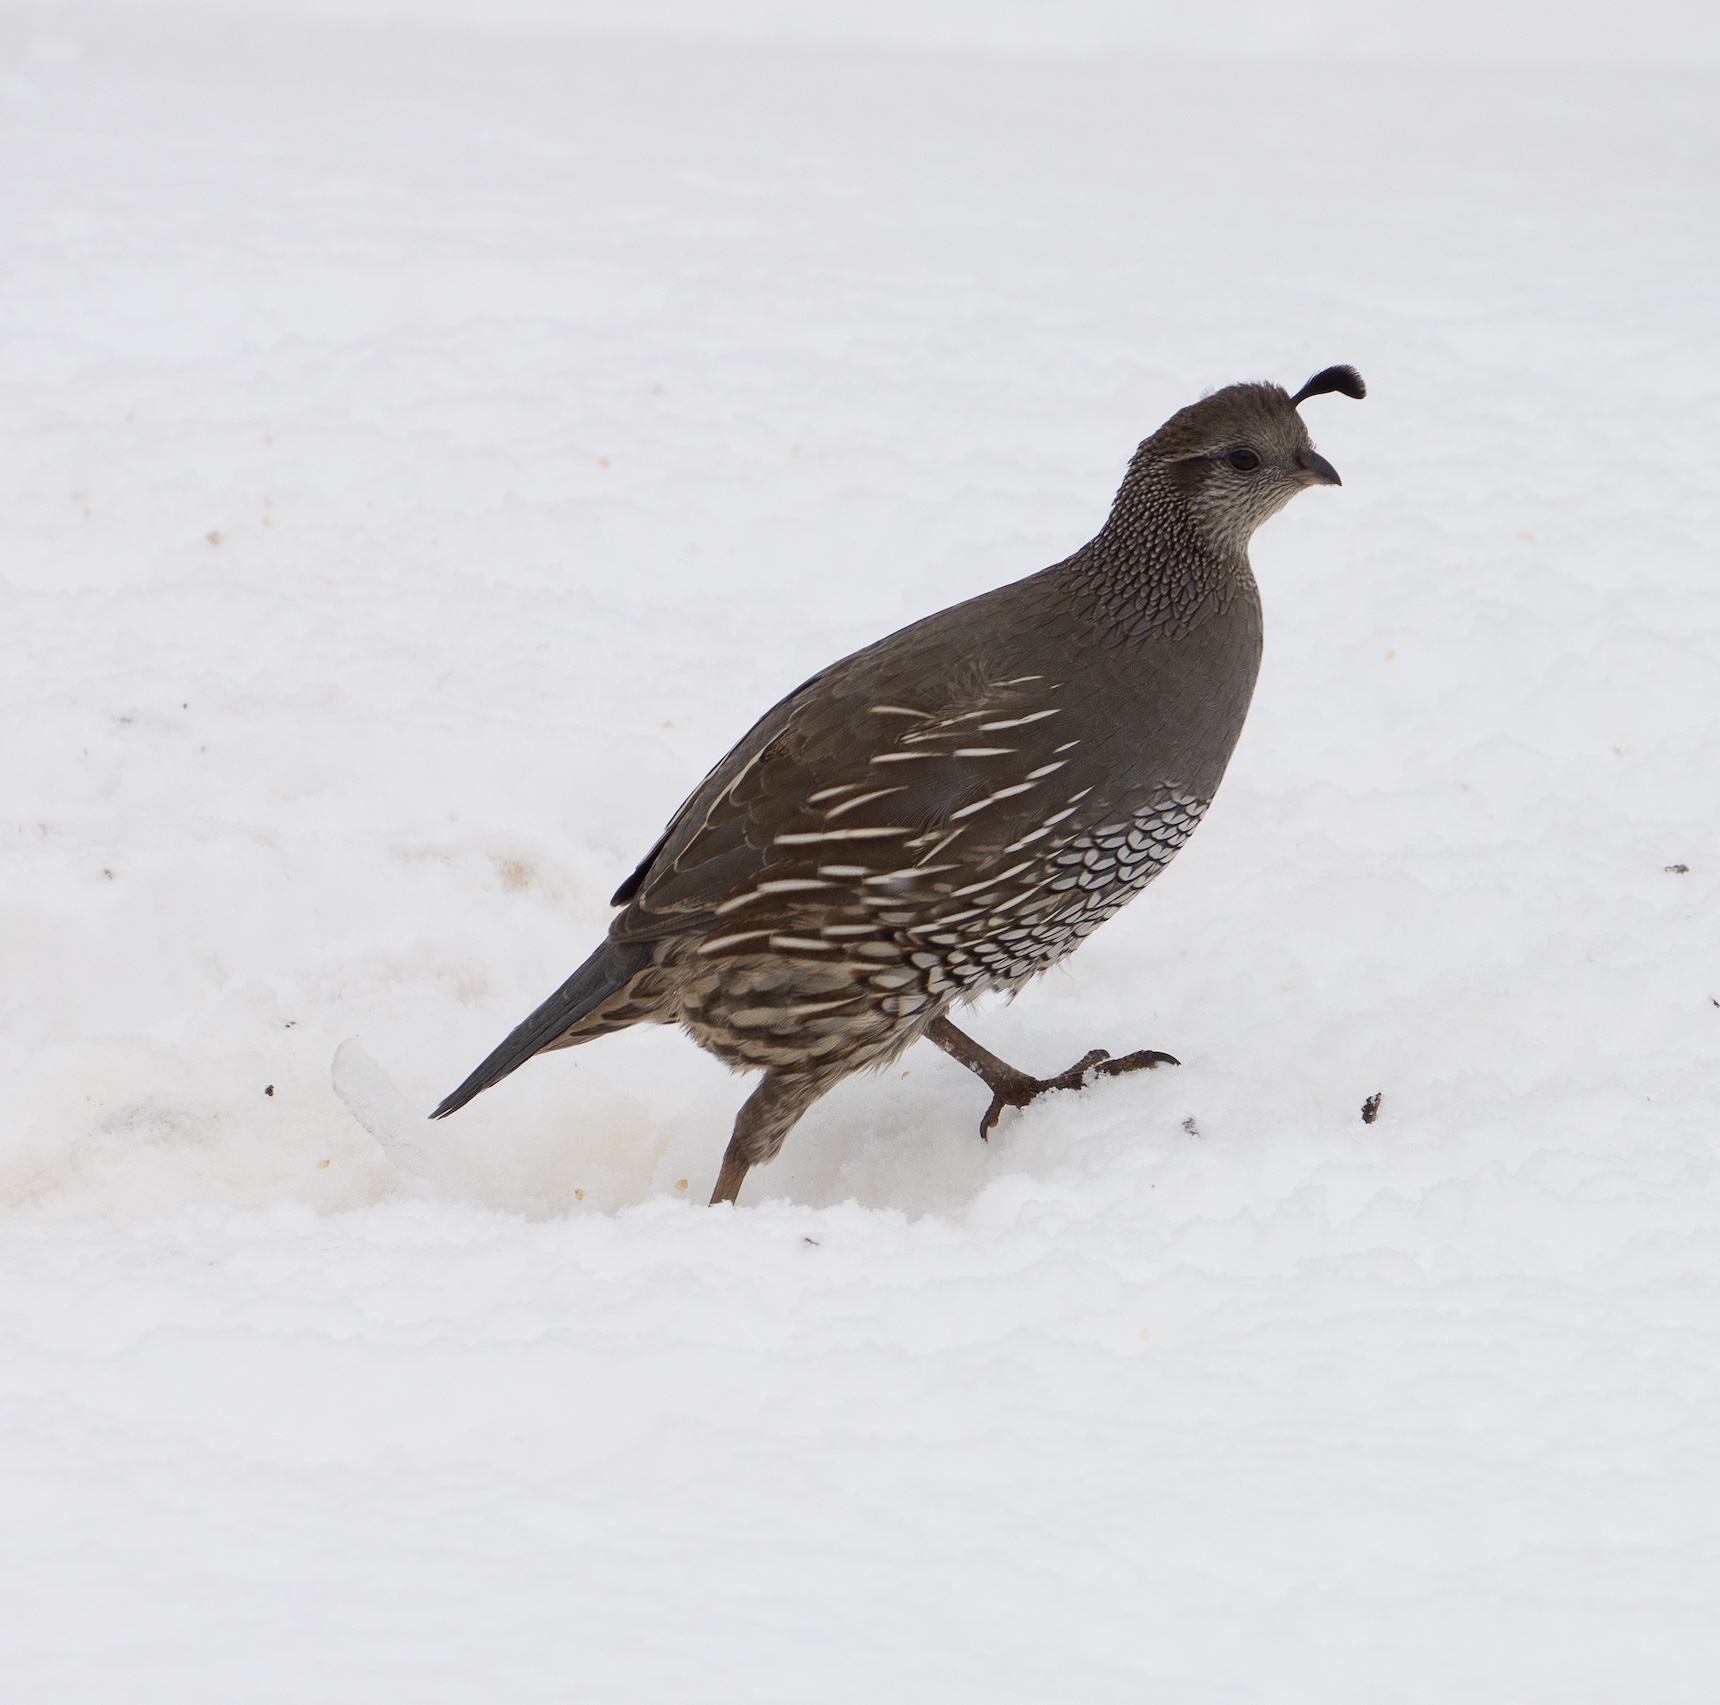
This California Quail was photographed using the Tamron lens set a 300mm.
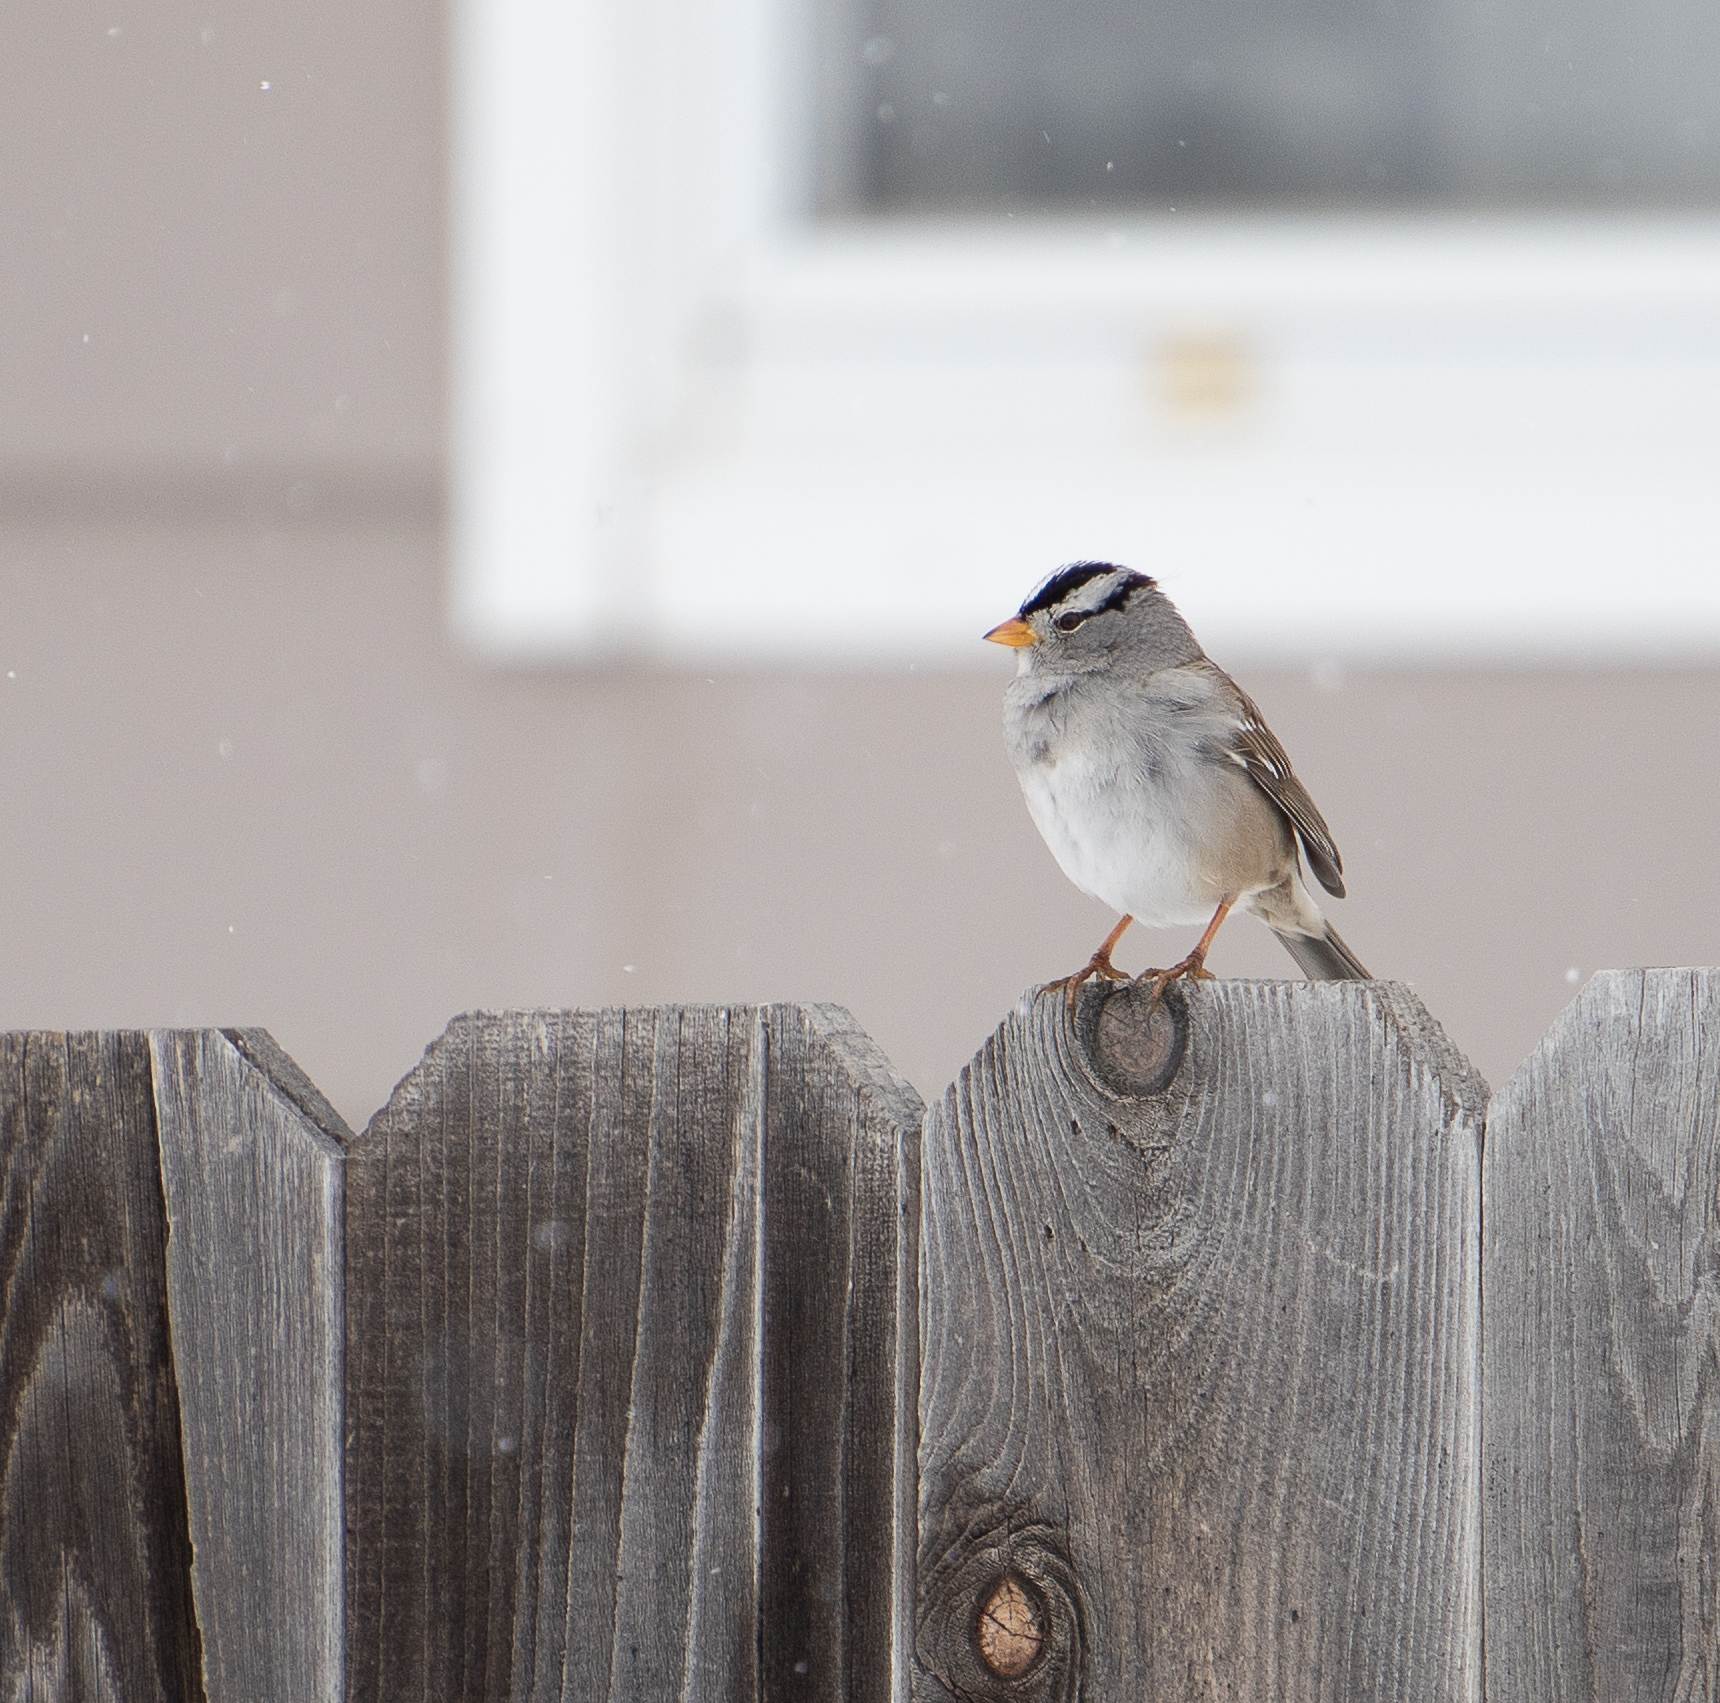
This White Crowned Sparrow was photographed using the Tamron lens set a 300mm.
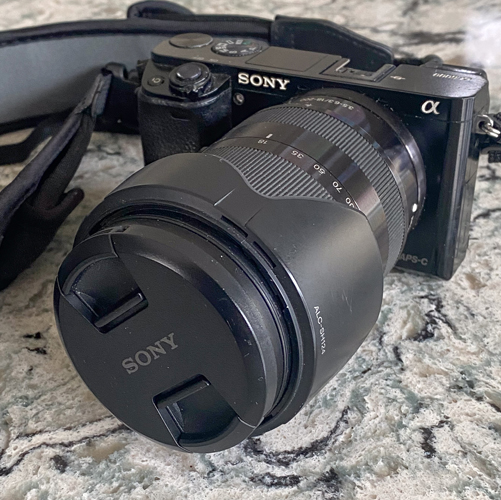
As a bonus I can use the new Tamron lens with my older and smaller APS-C size Sony A6000 camera.
The Sony A6000 has APS-C sensor with a resolution of 6000 x 4000 pixels